Description
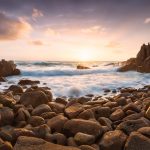
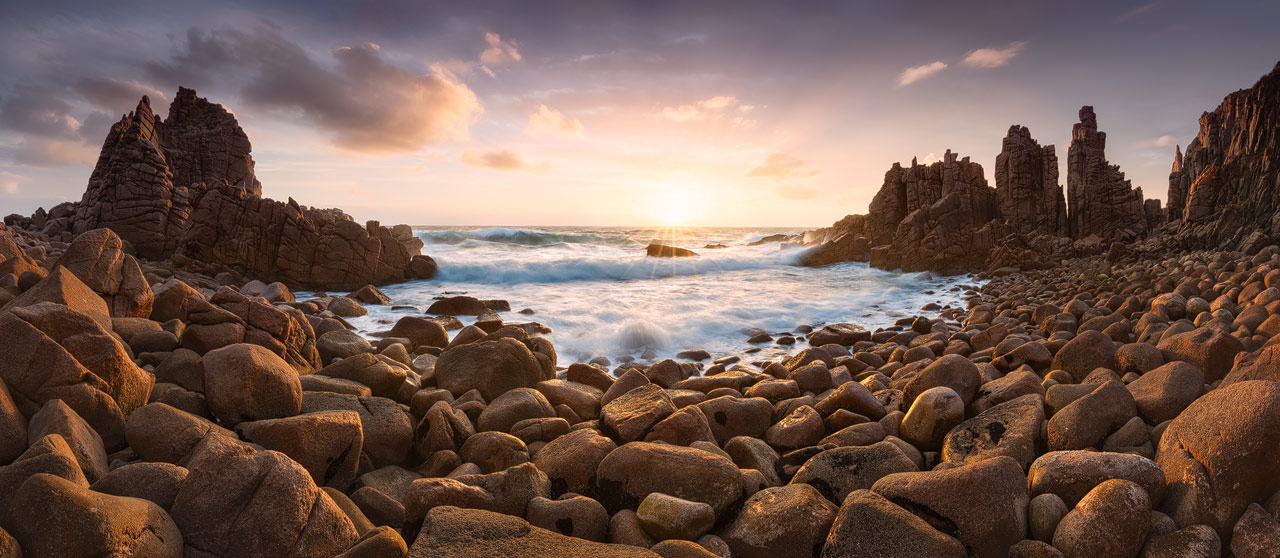
In this photo editing tutorial, I show my complete workflow for creating high-quality panoramic images. I use the tricky panorama I took at Cape Woolamai as an example image. The light that evening was spectacular but also fleeting, so I had to work fast. Because my wide-angle lens wasn’t sufficient to capture the whole cove, I opted for a panorama combined with bracketing.
With the direct sunlight, the rolling waves, and the fact that I wasn’t using a nodal rail or special panorama equipment, putting the photo together to create a high-quality result involved a set of unique techniques.
Tutorial Content
The tutorial consists of two major parts, each 75 minutes in length.
Part 1 is about the stitching and blending of the panorama. I explain:
- How the individual photos for the panorama were taken
- The Pre-Processing in Lightroom
- The advanced stitching using the free software Hugin
- The exposure blending of the bracketed exposures and the cleanup
- Techniques to enhance the look of the sun in the photo
- Special image transformations and cropping
Part 2 contains my creative workflow, in which I recreate the atmosphere. It contains:
- Sky enhancement techniques
- My dodge and burn workflow
- Contrast and color adjustments
- My workflow in ColorEfex to bring more vibrance to the photo
- Methods for balancing colors in the photo
- Multi-pass sharpening to work out the details in the photo
- Sharpening for Web
- Sharpening for Print
Prerequisites
This video tutorial is for the advanced Photoshop user. I assume you are familiar with layers, masks, filters, and adjustment layers. If not, I recommend watching my free tutorials first. If you have watched my other tutorials, this is perfect and will make it easier to follow along, but it’s not mandatory.
I use Adobe Lightroom 6 and Photoshop CS6 in the tutorial. Photoshop CS5 or later is generally sufficient to apply the shown techniques.
I also use some filters from the Nik Collection, which are available for free.
For the stitching, I use Hugin the Panorama Stitcher.

