Tutorials - Lightroom Photo Editing Presets
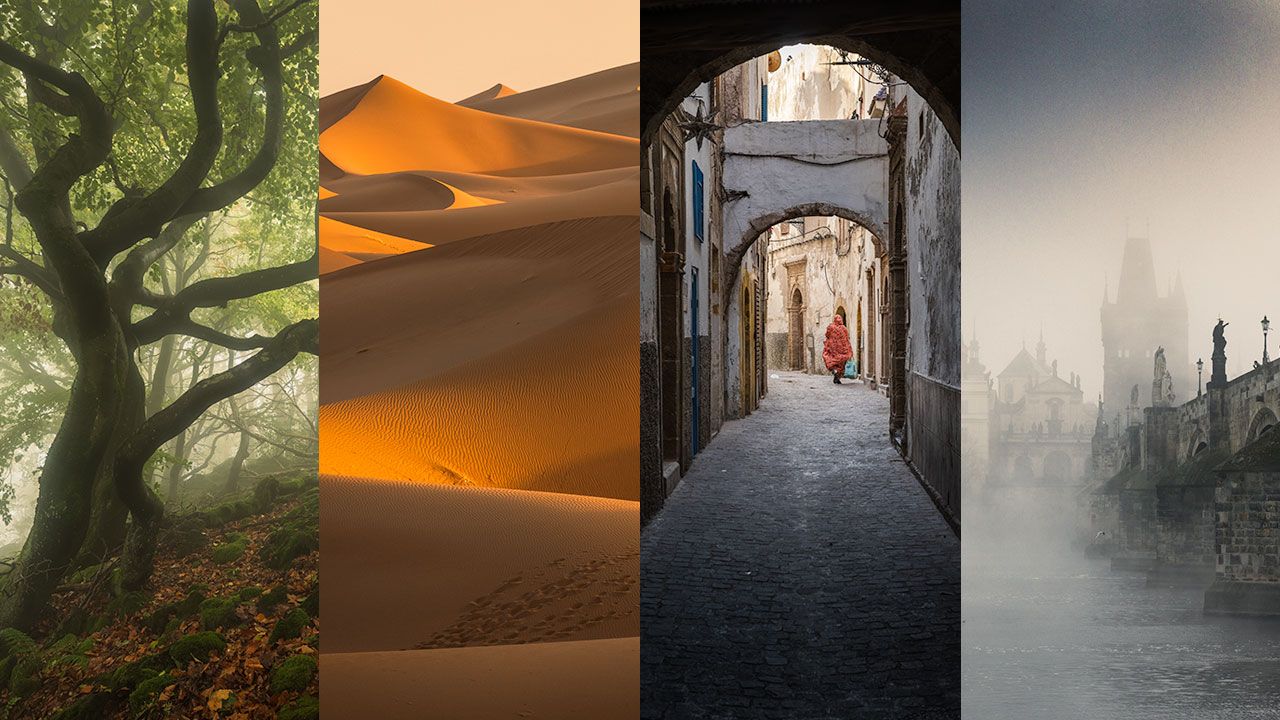


In this free photo editing tutorial, I share advanced photo editing techniques for Adobe Lightroom. I make use of custom presets you can purchase for only 7,50 Euro.
But even if you don't want to purchase the presets, you can still follow along and learn my editing workflow in Lightroom. You can also use what you learn to create your own presets.
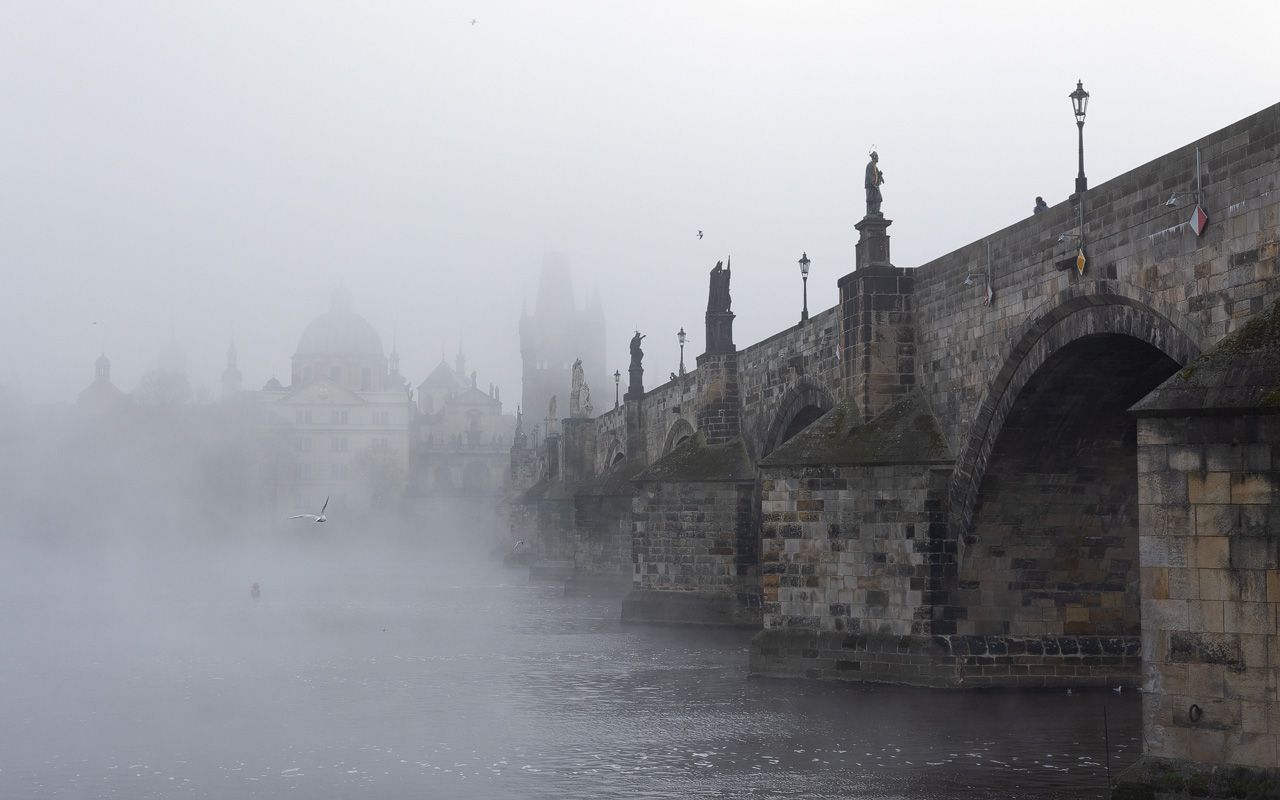
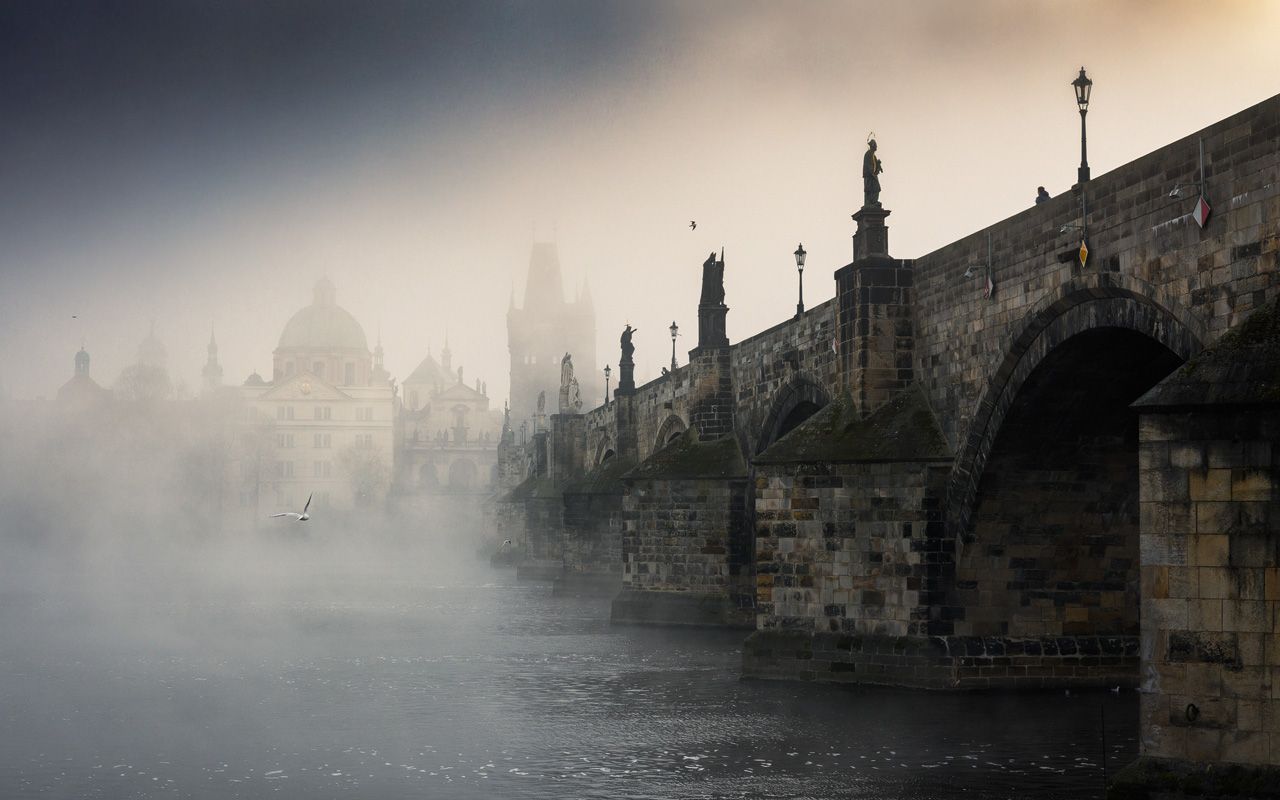
To give you an idea of what is possible with the presets, here are before and after images of one of the edits I show in the tutorial video:
If you decide to purchase my Lightroom presets, you can install them by following these steps:
The mibreit-photo-* presets should now be available for use.
Before I start working on my images creatively in Lightroom, I always use DXO PureRAW * to remove any hint of noise and pre-sharpen the photos. It is essential, though, to export the images as DNG. This way, I maintain a complete RAW workflow, allowing me to perform even heavier edits without compromising image quality.
If you don't want to use a plugin like DXO PureRAW, you can also use Lightroom's built-in AI noise reduction. It also delivers excellent results.
Since I often use focus bracketing for my landscape and architecture photos, I stack the images in Helicon Focus, which is available as a Lightroom plugin. It comes with a DNG mode that seamlessly integrates into my RAW workflow.
I don't use presets as a one-click solution. Instead of applying a single global preset that changes the look of the entire image, I use a layered approach which gives me much more control:
This way, I can build up complex edits step by step, while maintaining complete control over each adjustment. Instead of making every photo look the same, I can create customized results that suit the specific mood and composition of each image.
Using Lightroom presets can significantly speed up your photo editing workflow while still allowing for creative control. By layering different presets on masked areas, you can achieve professional results tailored to each image.
If you have a fast enough computer, you can even go farther than I do in this tutorial and perform a full start-to-finish edit in Lightroom without ever leaving the software. I usually switch over to Photoshop for some finishing touches and also for more advanced exposure blending which is not possible in Lightroom alone.
If you are interested in my full editing workflow, make sure to checkout my other tutorials.
* Those are Affiliate Links. I get a commission if you buy or book something after clicking on those.
Once a month, I'll send a roundup of new tutorials, articles, and other news about photography. If that's interesting for you, make sure to subscribe to my newsletter.
