Tutorials - Photo Editing Mega Bundle

39.00 EUR
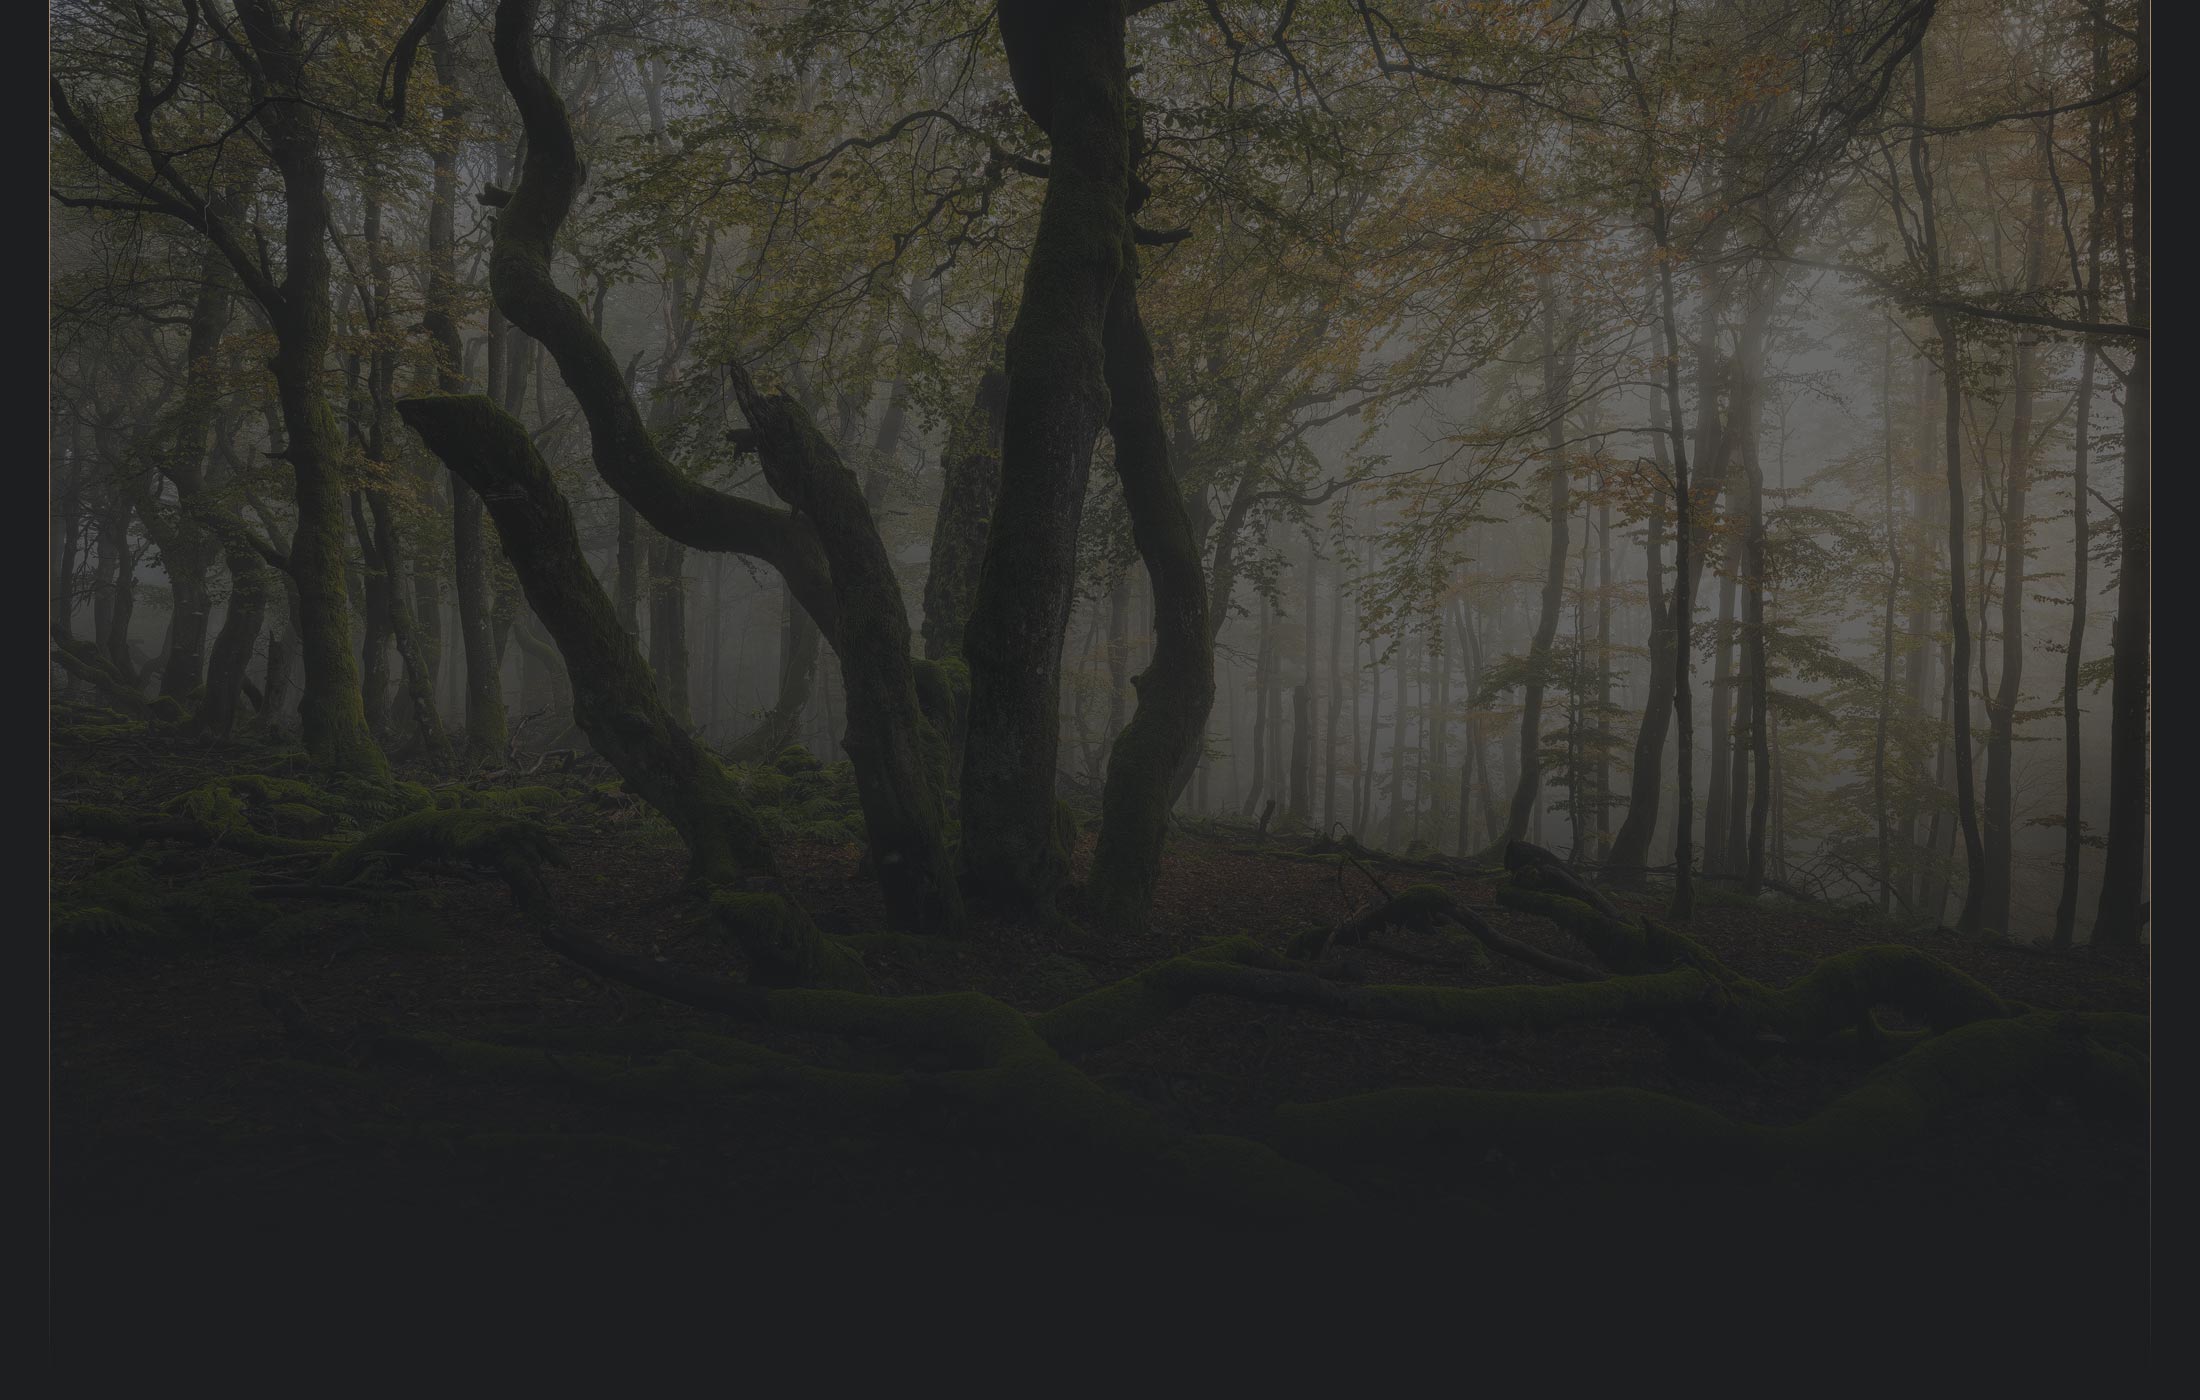
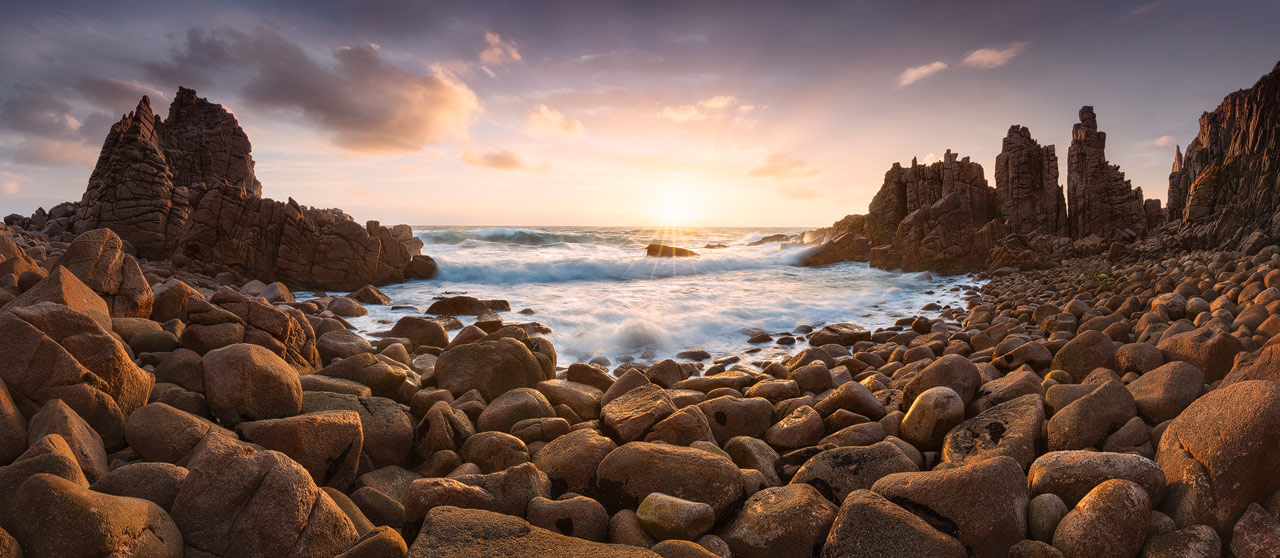
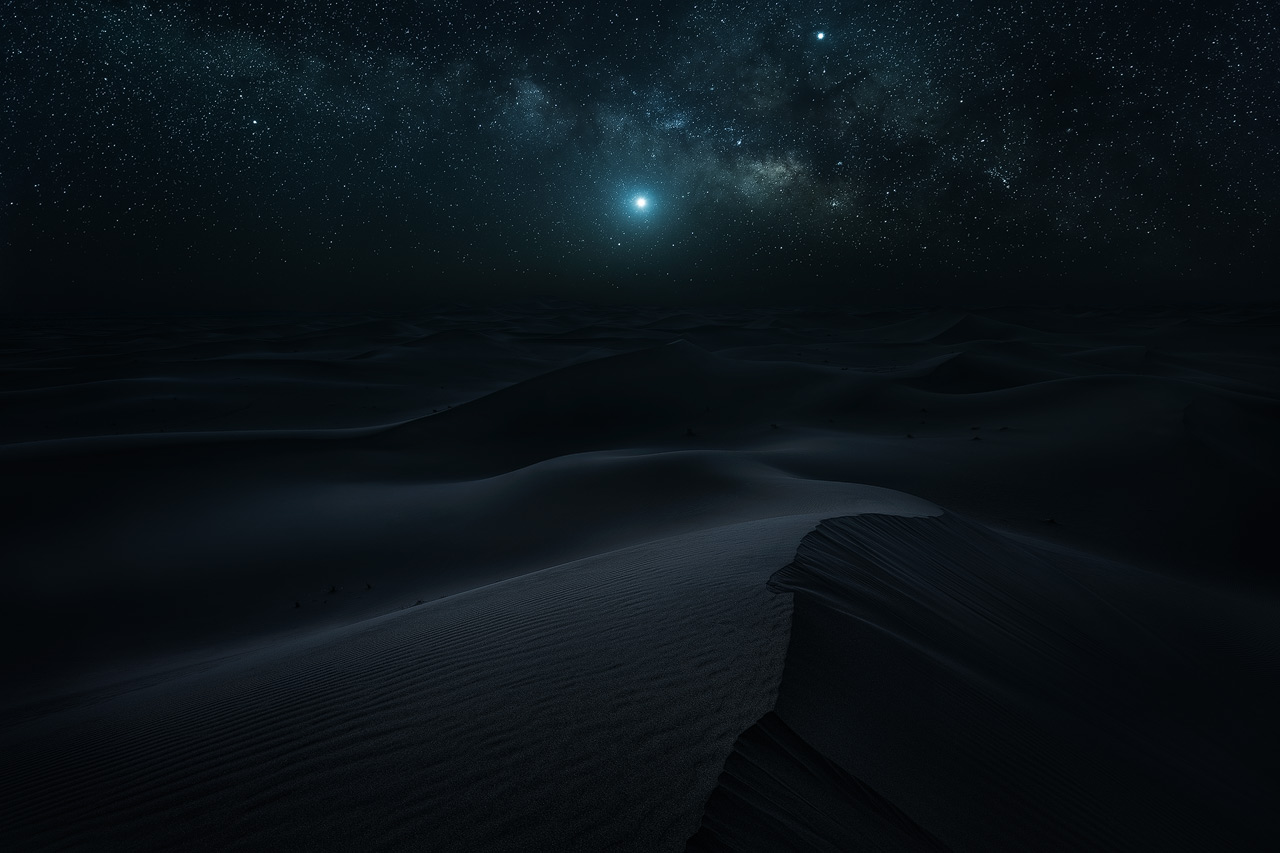
In-depth photo editing tutorials with sophisticated techniques for editing landscape, architecture, and night photos.

39.00 EUR
In-depth photo editing tutorials with sophisticated techniques for editing landscape, architecture, and night photos.
This is the ultimate photo editing bundle for photographers who want to elevate their photos for both web and print.
The tutorials contained in this bundle hold all the post processing knowledge you need for a professional editing workflow in Adobe Lightroom and Photoshop. In more than 10 hours, I show the techniques and tricks I learned in nearly 20 years of using Photoshop and more than 10 years of using Lightroom.
Quality over quantity - that's my photo editing philosophy. And that's what you get by buying this tutorial. The contained videos don't only scratch the surface. I go into the details of how I process my photos, showing every step from start to finish.
The techniques and workflows you'll learn are state-of-the-art. They extend the shorter tutorials I share on my YouTube Channel. There, I focus on individual techniques. In this tutorial bundle, I share my complete workflow for several photos.
If you are still unsure, if this tutorial is right for you, check the photos on my homepage. In the tutorial you'll learn how to achieve such results.
To get the most out of the videos, I encourage you to first check my free tutorials which provide the necessary foundation.
This photo editing bundle contains all my in-depth photo editing tutorials for Lightroom and Photoshop. You can find the individual tutorials here. The combined value of all contained tutorials is 95 euros.
As a bonus, I also included three tutorials that are about specific techniques you can use to add atmosphere to your images. Those are not sold separately.
The Photo Editing Mega Bundle targets intermediate and advanced photographers. You should already know your way around layers, masks, filters, and tools in Photoshop. If not, watch my free tutorials first. Those provide the foundation for the contents I teach here.
I use the latest versions of Adobe Photoshop and Lightroom for the latest tutorials included in the bundle. For some of the older tutorials, I use Adobe Lightroom 6 and Photoshop CS6. To best follow along, I recommend the creative cloud versions, since some of the features I use in the newer tutorials are not available in the older versions of Photoshop and Lightroom.
Additional Plugins I use are:
C:\Program Files\Adobe\Adobe Photoshop 2026\Plug-ins under Windows.C:\Program Files\Adobe\Adobe Photoshop 2026\Plug-ins\Google\Color Efex Pro 4.Once you start Lightroom or Photoshop, the Nik Collection should be available. To apply an effect from the collection in Photoshop, you must create a new layer and then apply the effects directly to that layer to avoid crashes. Don’t let the plugins create a new layer for you.
* This is an Affiliate-Link. If you use it to buy something, I'll get a commission.
Once a month, I'll send a roundup of new tutorials, articles, and other news about photography. If that's interesting for you, make sure to subscribe to my newsletter.