Tutorials - Photo Editing for Night Photos
19.00 EUR
In-depth photo editing tutorial for Night Photos, including advanced techniques in Photoshop.
19.00 EUR
In-depth photo editing tutorial for Night Photos, including advanced techniques in Photoshop.
In this photo editing tutorial, I share my complete workflow for editing Milky Way photos. If you want to achieve high quality results in your night photo editing, then this tutorial is for you.
My main focus with my night photography is to create images that reflect the atmosphere of the night while showing enough detail to create interest. To achieve this, I developed special photo editing techniques, which I share in the tutorial.
Another goal of my night photo editing is to achieve the highest possible image quality. So one focus of the tutorial is on dealing with noise and ensuring sharpness from close foreground to far background, so you can create large prints of your night photos.

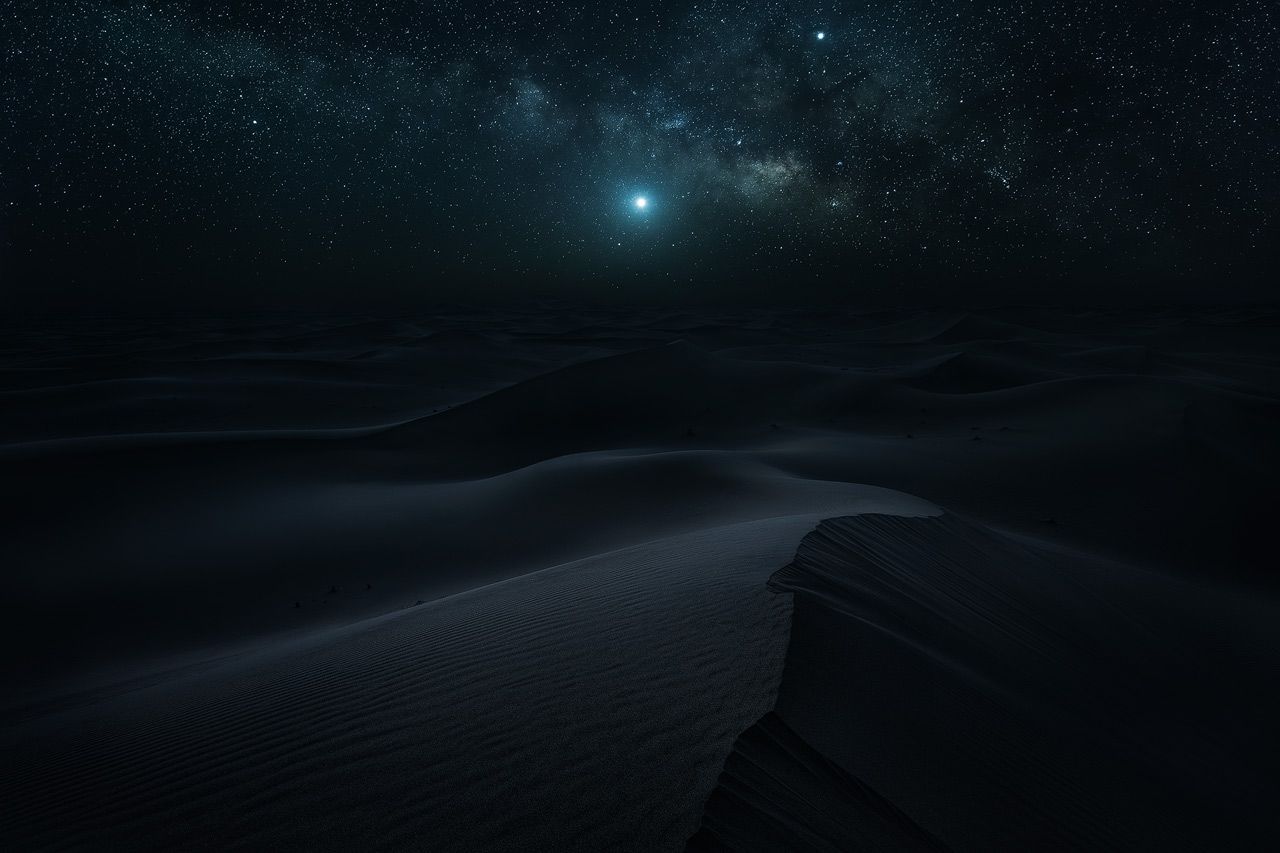
To show you my workflow in all its detail, I take you from start to finish through the editing process of my Milky Way photo Desert Nights. Waking up in the desert to such a spectacular sky was an unforgettable experience, and I wanted this photo to capture and invoke the sense of awe I felt when standing on one of the dunes near our camp that morning.
The tutorial is close to two hours in length. For a better viewing experience, I split it into 11 sections. This way, you can revisit parts of the photo editing workflow and incorporate a selection of techniques into the editing of your night photos.
After a short introduction video, which you can watch below, I talk about how I planned, scouted, and took the Milky Way photo, which consisted of 40 images for the night sky and another four for the foreground.
Then, I show the basic photo editing in Lightroom, followed by image averaging in Sequator, and sky enhancements in Photoshop.
I continue with focus stacking in Photoshop before I show how I blended the photos. Blending is the most crucial part of my photo editing for night photos. I had to develop new techniques to achieve the results you see in the photos on this page.
After some finishing touches, I show you my multi-pass sharpening, which I use to enhance the details in my photos.
As with all my images, the final step in my editing for astro-photos is the preparation for web and print. In those last two sections, I give tips on how to make sure the result looks good on Instagram, and I explain how I created different versions of the photo for proofing.
This video tutorial is for the intermediate Photoshop user. I assume you are familiar with layers, masks, filters, and adjustment layers. If not, I recommend watching my free tutorials first.
I use Adobe Lightroom 6 and Photoshop CS6 in the tutorial. Photoshop CS5 or later is generally sufficient to apply the shown techniques. If you are using Photoshop CC, you'll also be fine. By now I also use Photoshop CC and I still apply the techniques I show in this tutorial to my night photos.
The Nik Collection, which is available for free using the provided link, contains several filters I use in the tutorial.
I already mentioned Sequator, which is also free. I use it for image averaging.
The set of actions called Astronomy Tools is also helpful for editing night photos. Those are great for editing Milky Way photos, but using them is optional. I use them to further reduce the noise in the sky and to tweak some stars. But with the advancements of AI noise reduction in Lightroom, this is now the preferred way on working on noise.
Once a month, I'll send a roundup of new tutorials, articles, and other news about photography. If that's interesting for you, make sure to subscribe to my newsletter.