Tutorials - Panorama Photo Editing Tutorial

19.00 EUR
In-depth panorama photo editing tutorial showing stitching in Hugin and Blending in Photoshop.
19.00 EUR
In-depth panorama photo editing tutorial showing stitching in Hugin and Blending in Photoshop.
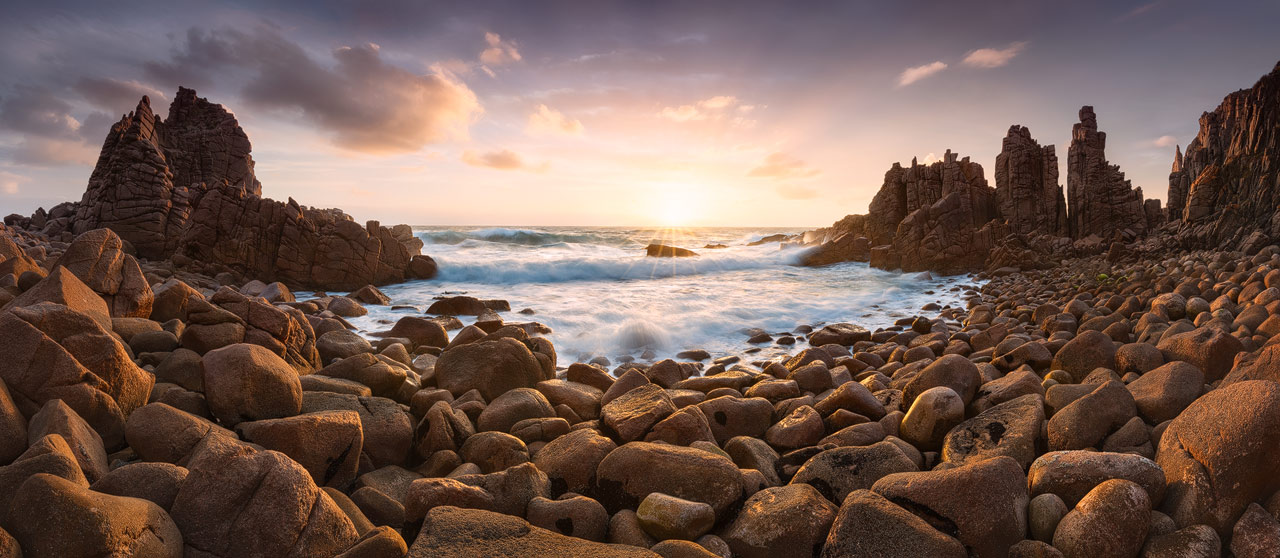
In this photo editing tutorial, I show my complete workflow for creating high-quality panoramic images.
I use the tricky panorama I took at Cape Woolamai as an example image. The light that evening was spectacular but also fleeting, so I had to work fast. Because my wide-angle lens wasn't sufficient to capture the whole cove, I opted for a panorama combined with bracketing.
With the direct sunlight, the rolling waves, and the fact that I wasn't using a nodal rail or special panorama equipment, putting the photo together to create a high-quality result involved a set of unique techniques.
The tutorial consists of two major parts, each 75 minutes in length.
Part 1 is about the stitching and blending of the panorama. I explain:
Part 2 contains my creative workflow, in which I recreate the atmosphere. It contains:
This video tutorial is for the advanced Photoshop user. I assume you are familiar with layers, masks, filters, and adjustment layers. If not, I recommend watching my free tutorials first.
I use Adobe Lightroom 6 and Photoshop CS6 in the tutorial. Photoshop CS5 or later is generally sufficient to apply the shown techniques. If you are using newer versions of Photoshop from the Adobe Creative Cloud, you'll also be fine. The techniques I show work the same way in the latest versions of Photoshop and Lightroom.
I also use some filters from the Nik Collection, which are available for free.
For the stitching, I use Hugin the Panorama Stitcher.
Once a month, I'll send a roundup of new tutorials, articles, and other news about photography. If that's interesting for you, make sure to subscribe to my newsletter.