Newsletter
Once a month, I'll send a roundup of new tutorials, articles, and other news about photography. If that's interesting for you, make sure to subscribe to my newsletter.
On this site you find a set of basic photo editing tutorials, which provide the foundation for the more advanced post processing techniques I show in my other tutorials. Watching the videos below you learn how to use Photoshop for basic and also more advanced photo editing.
Keyboard shortcuts are essential for a fluid photo editing workflow in Photoshop. In this video I show the shortcuts I use the most. Learning how to use such shortcuts can speed up your photo editing significantly. In the beginning it might be a bit hard to remember all the shortcuts and a cheat sheet might come in handy. But with time you'll build the muscle memory and your fingers will flow across the keyboard while you edit your photos.
In this tutorial I lay out the foundation for my creative photo editing. I use masks a lot in Photoshop and here I show a set of my most commonly used masks, including hard edge masks, Luminosity Masks and a more targeted Luminosity Mask. Knowing how to create those different kinds of masks in Photoshop is very valuable, if you intend to raise your photo editing skills to the next level.
After knowing how to create certain masks, it's even more important to know when and how to use them. In this video I show some photo editing use cases for each of the masks I created in the previous video. As an example I use a photo of the Vatican I took in Rome some years ago.
In this video I show you how I do dodge and burn, which is an essential technique I use a lot in my photo editing. You'll also see me using it in my other tutorials. I also show you how I use Photoshop plugin Lumenzia in the process here. It allows me to quickly create luminosity masks, turn them into selections and then perform the dodging and burning through them. This allows me to do very targeted dodge and burn and I can be very intentional with my photo editing.
Building upon the previous videos, in this tutorial I show you how to do exposure blending using luminosity masks. Since most of my photos consist of bracketed exposures, which I take to be able to capture the complete dynamic range of a scene, exposure blending is usually one of the first photo editing steps I do when I work on a photo. An important part of it is, aside from using luminosity masks, properly balancing the different exposures during the blend.
Focus Stacking is equally important as exposure blending for my photo editing. As I show in the video below I often combine the two techniques to not only create a photo that shows the complete dynamic range of a scene, but also capture all the details from the near foreground to the far background. This combination adds a bit of complexity to my post processing, but as I show in the video it's also no rocket science and can be done quite effectively with masks in Photoshop.
I use a set of plugins in my photo editing workflow, which I also want to share with you:
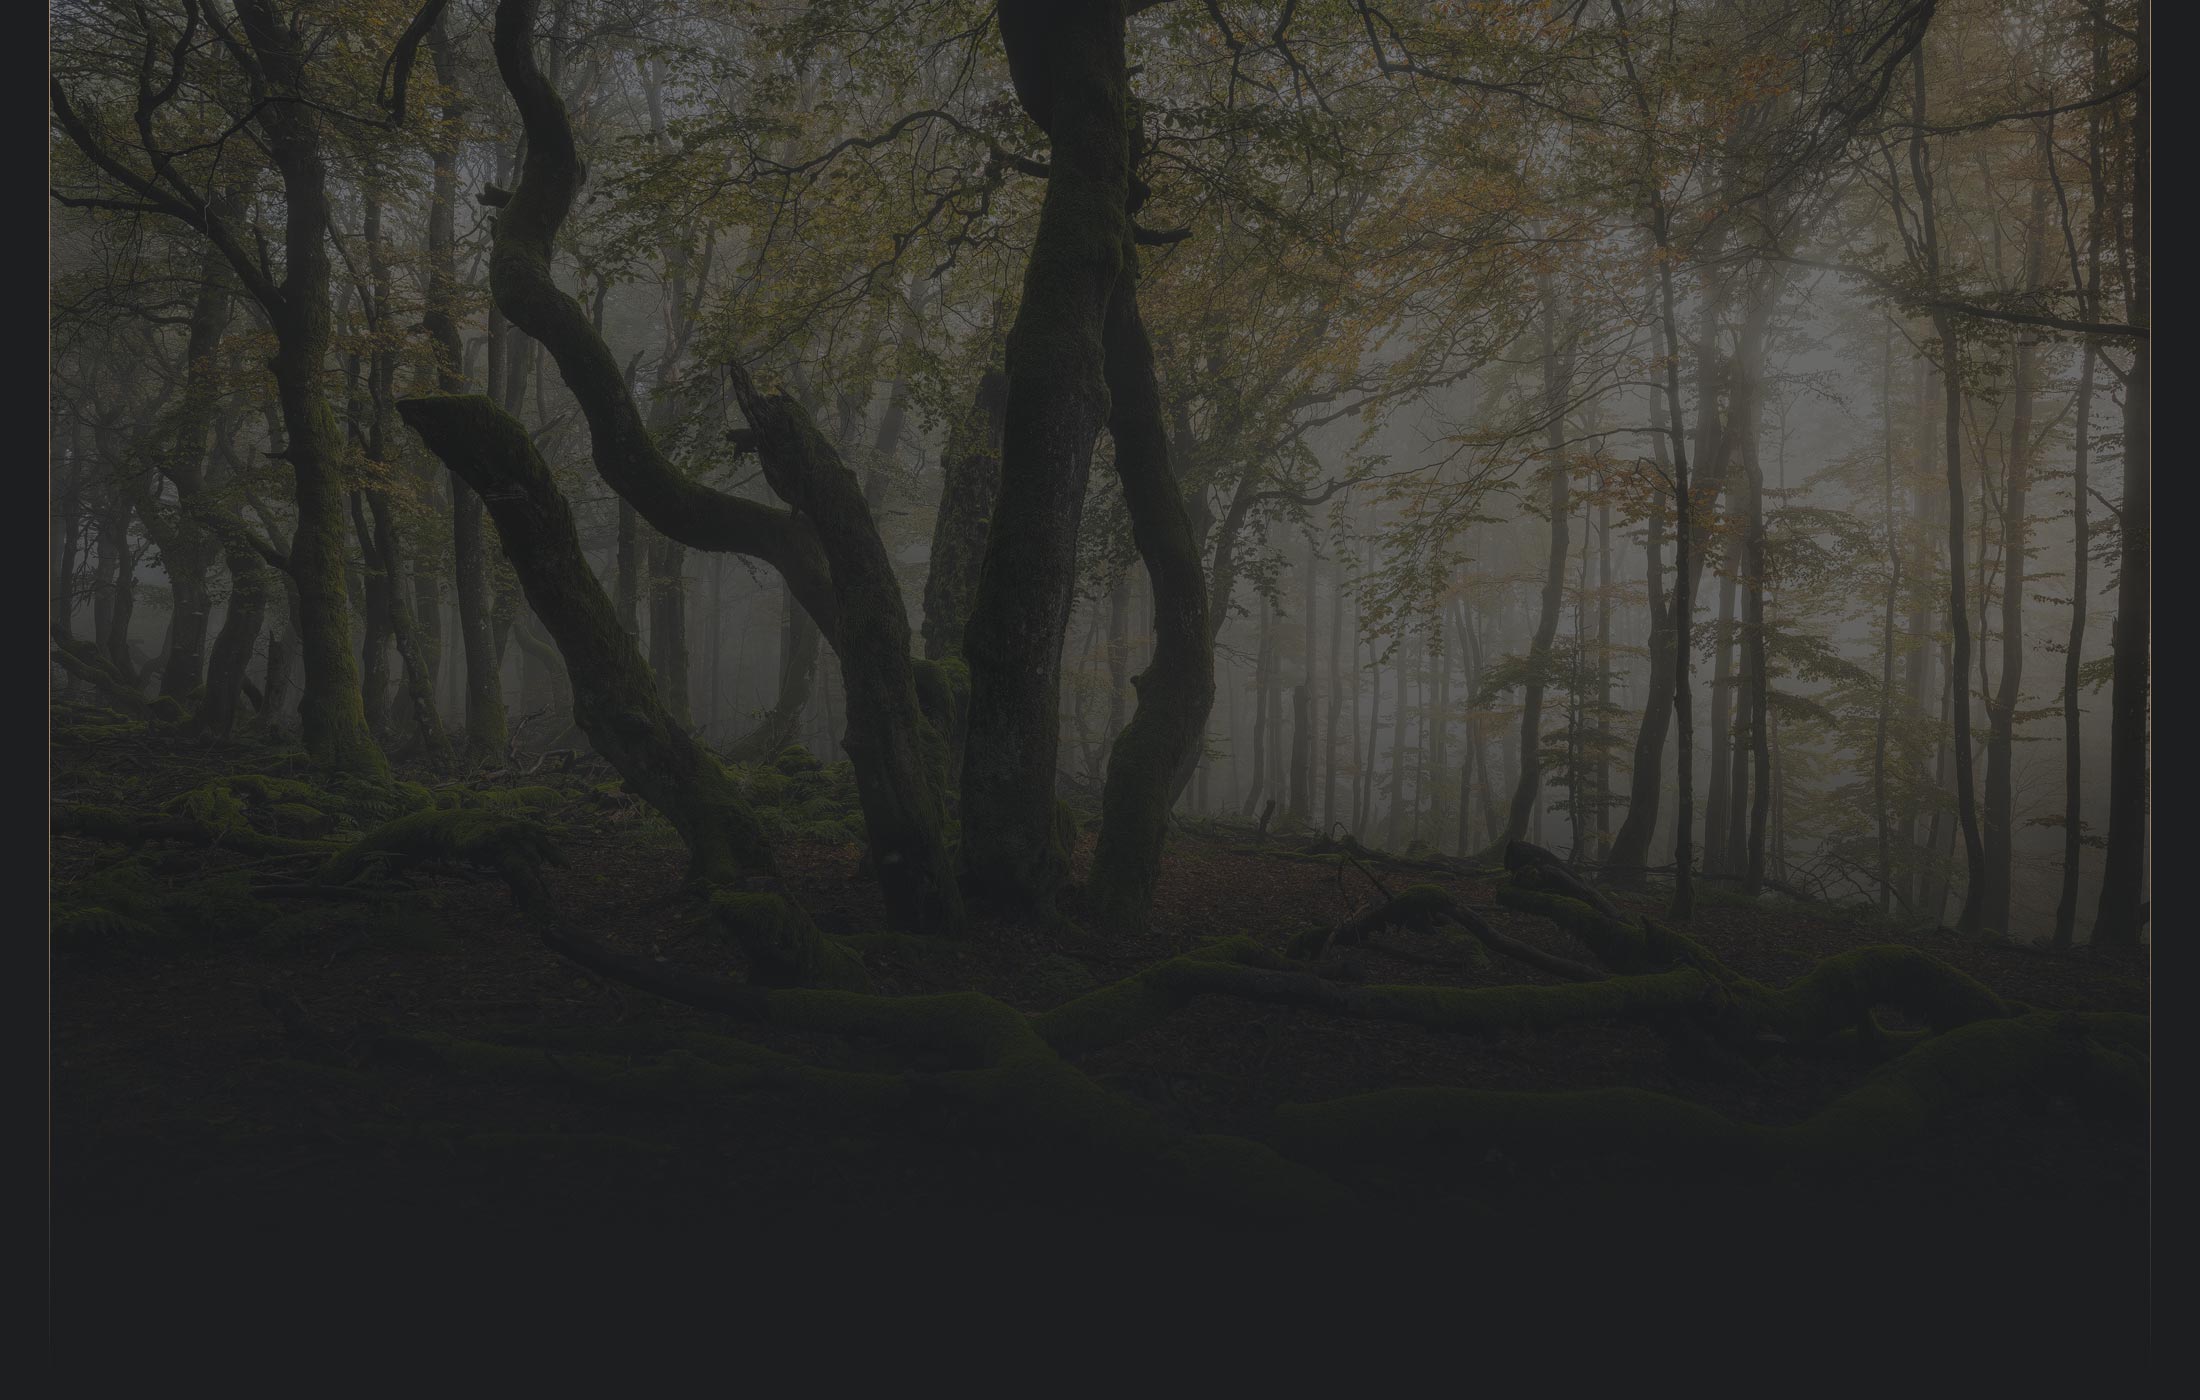
Now you should have a good foundation to continue with my more advanced tutorials. In those you learn all the techniques I apply to create photos that don't only look great on the web, but also when printed large – photos like the one below.

* This is an Affiliate-Link. If you use it to buy something, I'll get a commission.
Once a month, I'll send a roundup of new tutorials, articles, and other news about photography. If that's interesting for you, make sure to subscribe to my newsletter.