Tutorials - Photo Editing for Architecture Photos

19.00 EUR
In-depth tutorial about photo editing of architecture and cityscape photos in Lightroom and Photoshop.


19.00 EUR
In-depth tutorial about photo editing of architecture and cityscape photos in Lightroom and Photoshop.
In this 80-minute in-depth photo editing tutorial you'll learn how to edit architecture and cityscape photos in Lightroom and Photoshop.
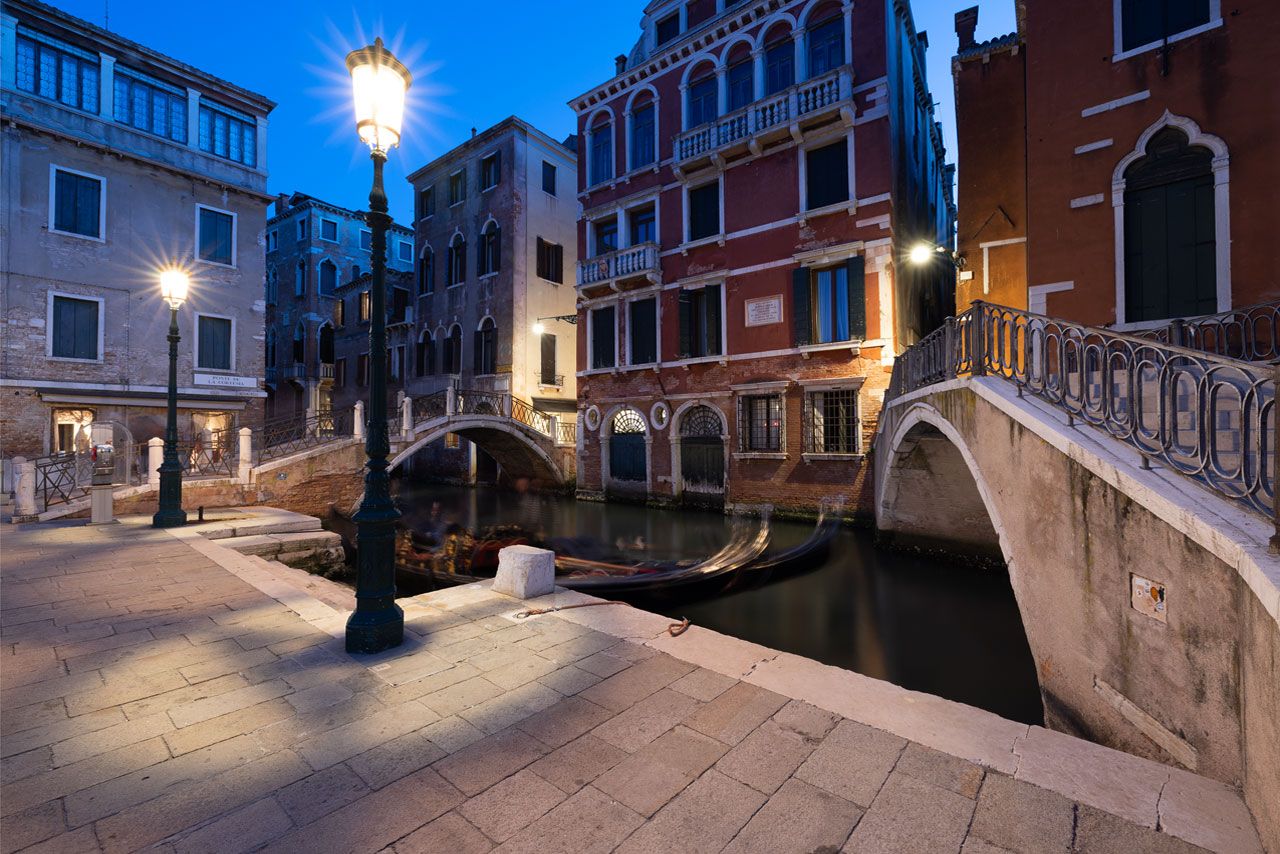
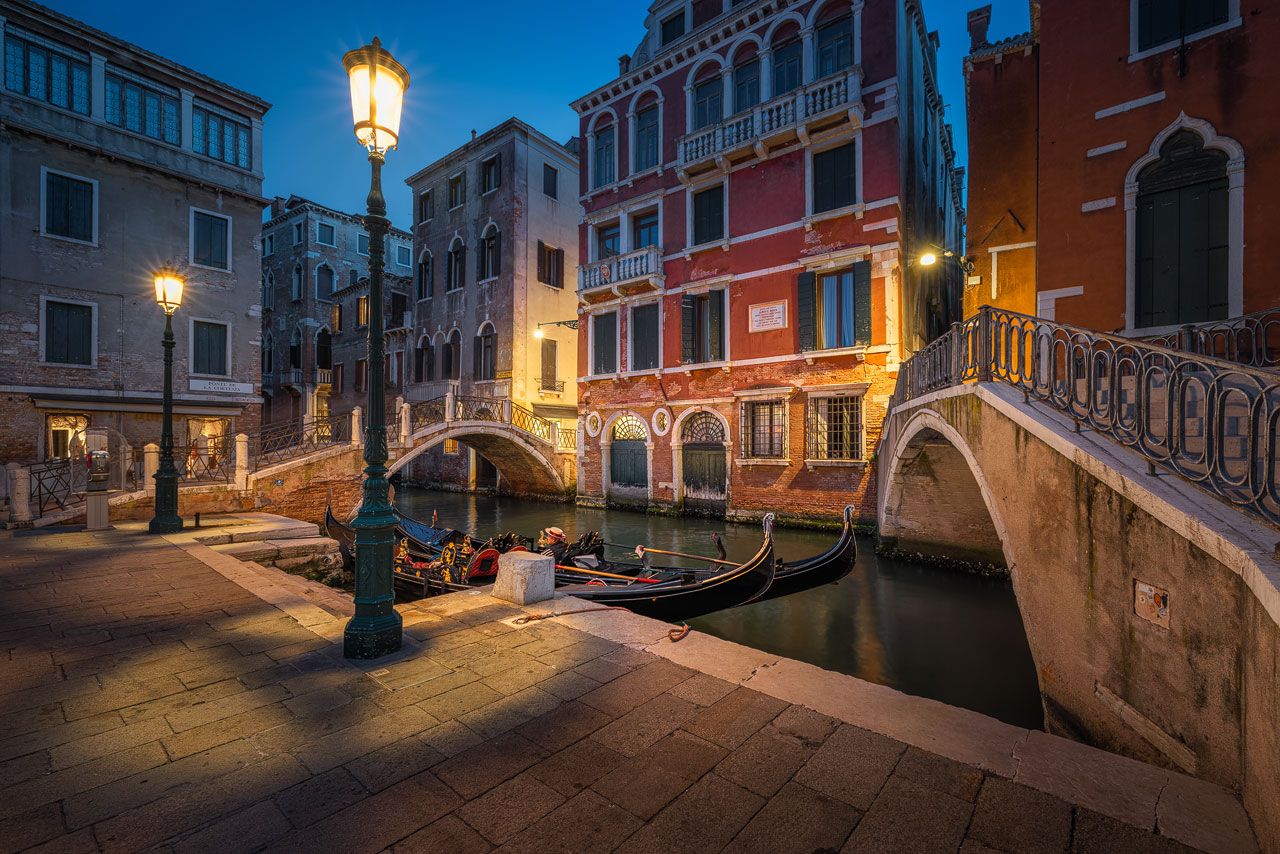
As an example, I show you my complete start-to-finish editing workflow for a one of my favorite photos from Venice. I captured it during blue hour, using different techniques like bracketing, focus stacking, and the combination of different ISOs to freeze motion in one area of the image and blurring motion in others.
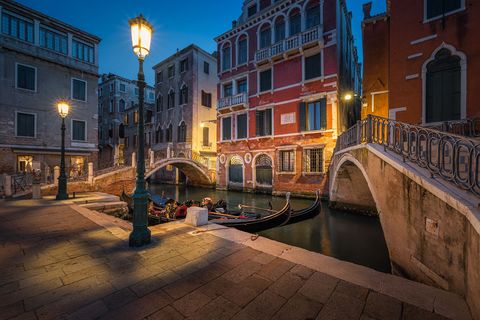
The before-and-after comparison below shows the out-of-camera RAW file without any settings applied compared against the final result.


The complete tutorial has a length of 80 minutes. For a better viewing experience, I split it into 12 sections. This way, you can revisit parts of the photo editing workflow and incorporate a selection of techniques into your own editing.
The tutorial starts with my in-the-field process for capturing the image. It consists of several photos of the scene I captured throughout the evening. I explain compositional considerations and share how I selected the photos for the edit. It's typical for me to end up with 20 to 50 photos on such an evening. Before I can begin the edit, I have to select the pieces that will contribute interest to the result I'm after.
In the next part, I show the pre-processing, followed by my new creative workflow in Lightroom. I then continue in Photoshop with the blending of several photos before I share how I correct perspective distortions and clean up the image. This section is followed by my workflow in Nik Color Efex and Dodge and Burn in Photoshop to balance the image. Fine-tuning the colors concludes the creative photo editing.
After working on the details and sharpening using the Camera Raw filter, I explain how I prepare the photo for the web. This step concludes the tutorial. If you like to print your photos, you will find my print preparation workflow in my free tutorials here.
Although this tutorial is about the photo editing of architecture photos, I also want to give you additional tips on capturing great architecture and cityscape photos. You can achieve fantastic results by combining the right raw material with the editing techniques I show in the video tutorial. The video below contains seven tips that will help you in the field.
This photo editing tutorial is for intermediate Lightroom and Photoshop users. I assume you are roughly familiar with layers, masks, filters, and adjustment layers in Photoshop. If not, I recommend watching my free tutorials first.
I use the latest versions of Adobe Lightroom Classic and Photoshop as of April 2022 in the tutorial. You can follow along with the newer versions of Adobe's Creative Cloud without problems. Although some new features have been added since then, the workflow and the tools I use remain the same.
If you still use Photoshop CS6 and an older version of Lightroom, you can watch my older tutorials, where I still use those.
I also use filters of the Nik Collection, which is available for free using the provided link. In the tutorial, I show how to install it for the latest version of Photoshop.
To sharpen my photos for the web, I use another free plugin, the Web Sharpener by Andreas Resch.
And to create Luminosity Masks, I work with Lumenzia* by Greg Benz. He also provides a free lite version of this plugin available, which you can use to follow along.
* This is an Affiliate-Link. If you use it to buy something, I'll get a commission.
Once a month, I'll send a roundup of new tutorials, articles, and other news about photography. If that's interesting for you, make sure to subscribe to my newsletter.
