Blog - Time Blending Tutorial
photo-editing, photography-tutorials | by Michael Breitung
In this article, I answer the question of what Time Blending is and how to use it to elevate your architecture and landscape photos.
I use a photo I took in Heidelberg a few years ago as an example. I had photographed this scene many times during previous visits to this city. This time, I wanted to try something different and combine the view of the city during sunset and twilight in one photo. To achieve this, I used a technique called Time Blending.

What is Time Blending
Some of you might be familiar with the term Time Blending. It's an exposure blending technique used to combine several photos of the same scene taken over an extended period of time. Typical examples are the combination of a blue hour photo with a night photo showing the stars or the Milky Way. Combining a sunset photo with a twilight or blue hour photo is another good use for this technique.
The photo I captured in the Erg Chigaga in 2019 is an example of a time-blended night photo. To achieve the highest possible quality and capture as many details as possible, I spent more than 90 minutes taking the photos that make up the final image. I combined more than 40 individual photos to create this time-blending I call Desert Nights. You find a detailed photo editing tutorial for this photo in the tutorials section of this homepage.
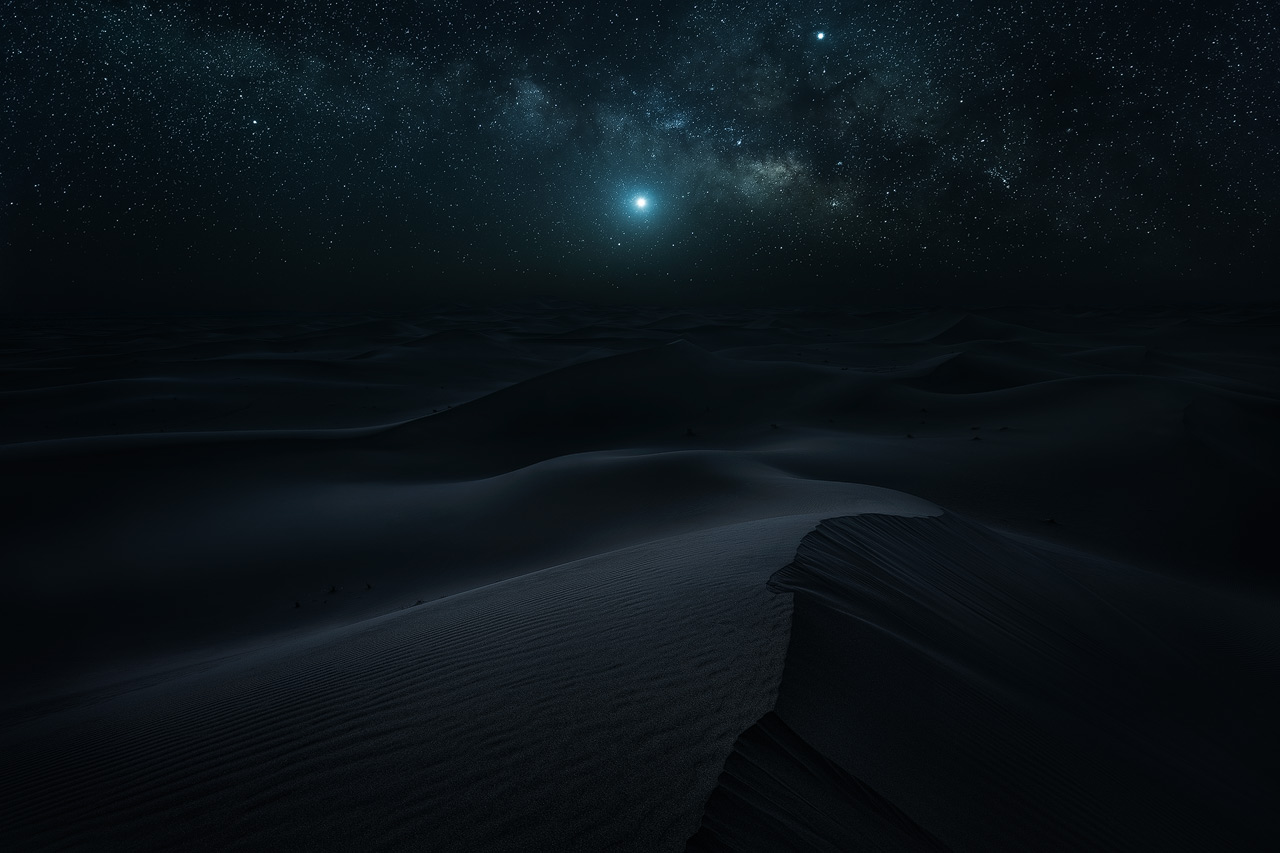
Here, I used time blending mainly to work around the technical limitations of my camera. When the Milky Way was visible, it was too dark to capture any detail in the foreground, even with a long exposure. That's why I waited until Blue Hour to photograph the landscape.
But time blending can also be used creatively, like in the photo from Heidelberg. Here, I used it to create a scene you'll never be able to witness since the city lights are only switched on long after the sun has set.

In the field
To capture the photo of Heidelberg, I arrived well before sunset and took my time to find the perfect spot and compose the image. Then I sat and waited, enjoying the beautiful evening. Waiting is a common theme when taking photos for a time blending. Expect to be at a location for many hours.
Before the sun vanished behind the hills in the background, I took the first set of photos. The moment before the sun dips behind the horizon is the perfect time to capture a beautiful Sunstar, as I did here using a small aperture. Depending on your lens, you can experiment with f-stops between f/16 and f/22. But be aware that a smaller aperture usually leads to less sharpness in your photos due to an effect called diffraction. That's why I usually stop down only to capture the area around the sun and leave a more open aperture for the rest of the image.
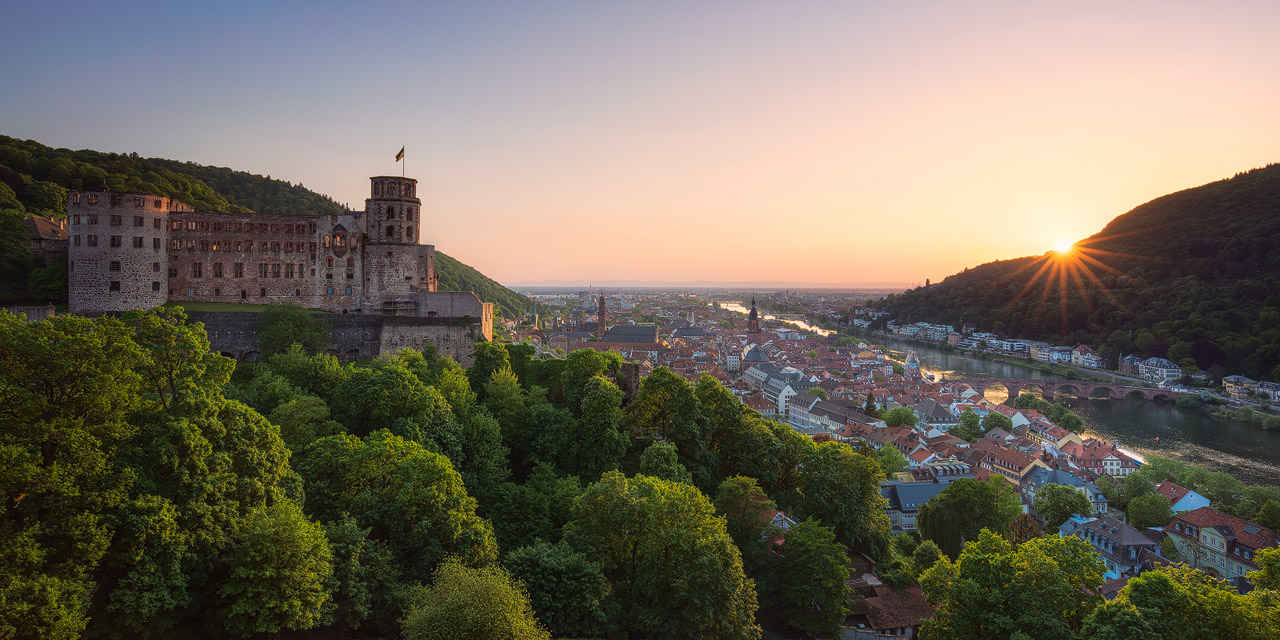
I also used bracketing to ensure I captured the complete dynamic range. Then, I waited another 30 - 40 minutes for the castle and city to light up. This moment presented the perfect equilibrium between the warm glow in the sky and the artificial lights.
To ensure that I would later be able to easily blend the photos, I used a cable release and avoided touching the camera during the whole time. A sturdy tripod will also help.
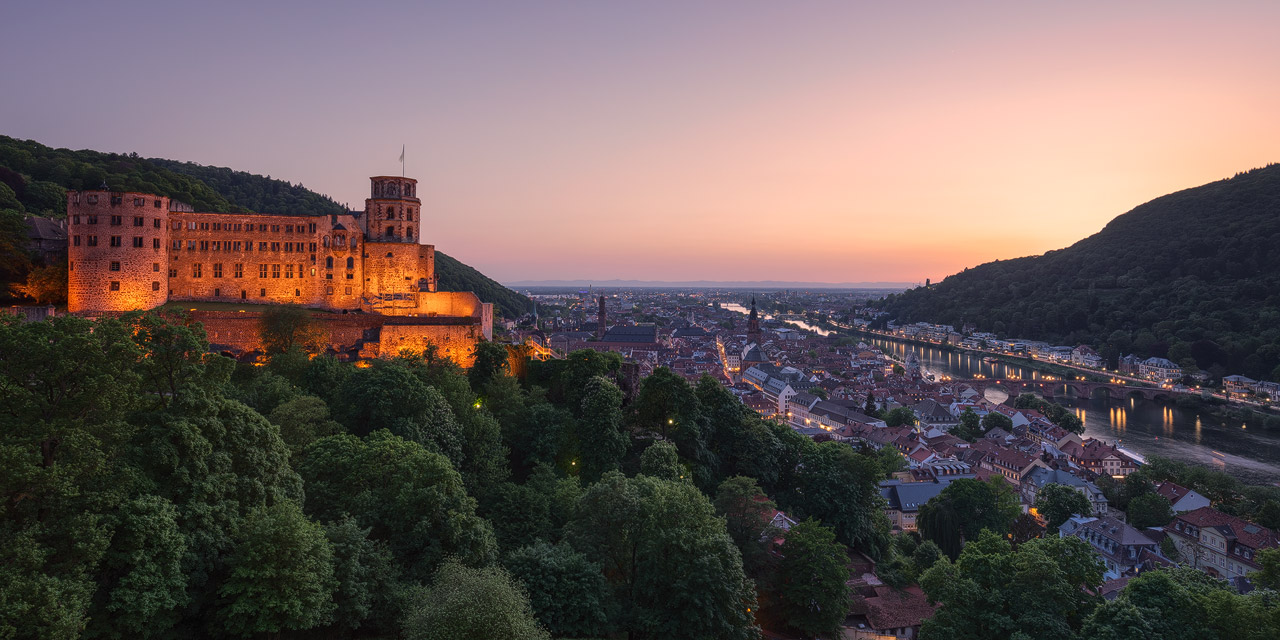
Photo Editing
The first step during photo editing was blending the bracketed exposures of the sunset photo. Afterward, I combined the images taken of the same scene during twilight.
I then worked on the two photos that resulted from this first blending individually, applying my usual post processing workflow. The images I show above are the result of this editing. They were also the input for the next step, the time blending. For it to work, it was crucial to have similar color and brightness in both photos. I adjusted minor differences during the time blending, but it helps if the starting material has similar brightness and color. In this case, the warm glow in the sky of the photo taken during twilight nicely blends with the sunset sky. The same goes for the orange light on the castle.
I show a slightly different photo editing technique that works if you have perfectly aligned your photos in the video below. This approach uses layer blend modes in Photoshop to blend in just the lights from different photos taken after sunset into the base exposure.
When working on night photos, you'll often have to do some more work. The blue hour photos must be darkened significantly to allow a clean blend. Balancing the colors is also essential, same as for the Heidelberg photo.
Conclusion
It's certainly a matter of taste, if such time-blended photos that certainly bend reality to a degree are to your liking. But it's good to experiment and go a little beyond the boundaries of a natural photo sometimes. The important thing for me is that what I show in those photos was all there. I might not have been able to capture it in one frame, but it's my experience of a long photo shoot compressed into a single image.