Blog - Which GND Filters to buy and how to use them
Photography Tutorials | by Michael Breitung
When I bought my first GND Filters for landscape photography (GND stands for Graduated Neutral Density) more than seven years ago I had no idea, which filters to buy. There are 1-stop (0.3), 2-stop (0.6), 3-stop (0.9) and even 4-stop (1.2) filters. And those are available as hard, soft, medium and reverse versions.
Such filters are expensive and, if I had believed some online resources, I would have had to buy a complete series of filters to be able to deal with all the different lighting situations.
Which GND Filters to buy
The first filter I bought though was a 0.6 hard GND. And it was a good start and didn’t leave too big of a hole in my wallet. But for many situations it wasn’t enough – especially for those times when I photographed landscapes into the direction of the rising or setting sun.
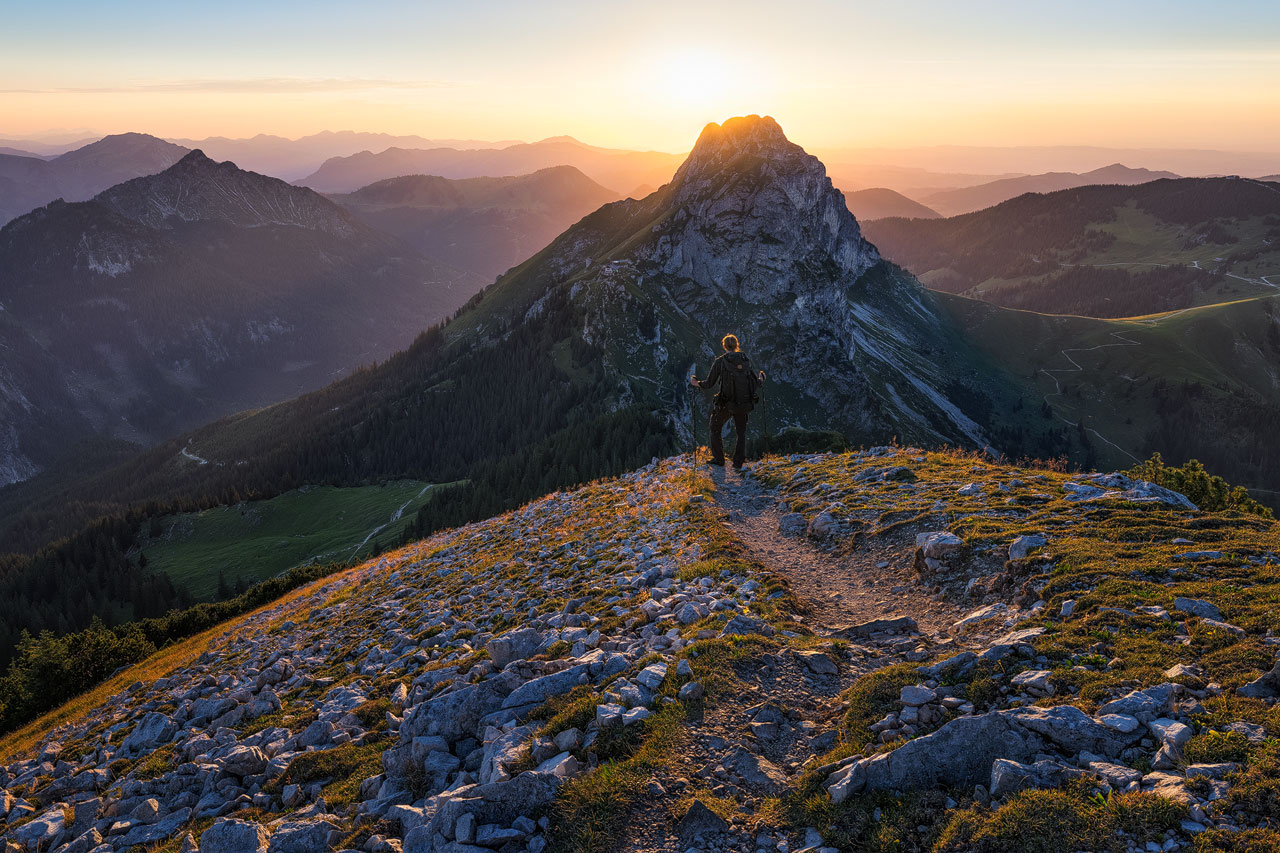
In addition to that, a hard GND Filter is not ideal for mountainous terrain or in general for scenes where the horizon isn’t flat. So I saved up a bit more money and bought a 0.9 hard GND for those scenes with the sun in the frame and also a 0.6 soft GND to cope with mountain vistas. At some point I even bought a 0.6 reverse Grad because I thought I needed it.

Over the years I have become very experience with those filters. And my arsenal has not grown bigger, instead I reduced the number of GND filters I use to two: a 0.6 hard GND and a 0.6 soft GND. Those two filters are, in my opinion, the most versatile landscape photography filter set.
How to use GND Filters
I can use either of the two filters on their own, or, if the light demands it, I can combine them. And I find the combination of a hard grad with a soft grad gives much better results than using a single 3 or 4-stop filter, for example.
In the video below I explain how I decide which of the filters to use and how I combine them.
As you can see it is very easy to use GND filters. There’s no need to do complicated measurements of the light in the foreground and the light in the sky and then decide, which filter to use. The only decision I have to make is which filter to apply first and this happens based on the nature of the horizon. Then this filter is either enough or I add the other one.
And since I’m shooting with a digital camera I don’t need to get the perfect exposure in one frame. I use GND filters to get me as close as possible to it, but for the best result I often use bracketing in addition to filters.
Some people might argue that, if I use bracketing, I wouldn’t have to use filters at all. But I can get much cleaner results when I only have to apply exposure blending to very specific areas of the photo and the use of GND filters helps me to get the right starting material.
Which GND Filters I use
To conclude this article, I also want to share with you the filter brand I’m currently using. Because in addition to all the graduated filter options I talked about above, you can also choose from many different brands. Seven years ago this was much easier. There were only three major brands available but now it’s good to do your research.
This new diversity of filter brands has many advantages, because there’s a lot of innovation. Just recently I switched from the well established Lee Filter brand to Kase Filters. Kase is still quite a new player in this field. But as I browsed through their products and watched the videos about those filters I was very intrigued. I decided to give them a try and since then have never looked back – I have since even become an ambassador for Kase Filters.
In the past three years I have used those filters a lot: I had them on trips to the Seychelles, to Vietnam, to Colombia and several more travels. I photographed in various lighting and weather conditions and the filters help up perfectly. As a result of that I have done some review videos about those filters, which you find below.
I hope this article and the videos helped a bit to demystify the GND filters jungle and showed that you don’t need to break your bank to get into the filters game. You can start with a holder and one GND Filter as I did, and then add a second one and maybe an ND filter. Then you’ll be flexible enough for most photo shoots.

