Blog - Getting from La Fortuna to Monteverde
Travel Tips | by Michael Breitung
In the last article I shared my experience about photographing La Fortuna. While we spent just two days there, for our next stop, Monteverde, we had planned a total of six days. And it was good to have so much time, because unlike La Fortuna Monteverde had a lot more to offer for me as a landscape photographer. But first we had to get from La Fortuna to Monteverde.
Different options are available that will get you to Monteverde, including a bus ride via Tilaran of up to 9 hours, a private shuttle or a mixed taxi-boat-taxi tour. In my opinion the easiest way to travel between La Fortuna and Monteverde is by rental car and this is what I will focus on in this article. Having a rental car is not only helpful for the journey to and from Monteverde, in my opinion it's even more important for reaching the different attractions in the area. The alternative would be walking a lot or organizing shuttles to most of the attractions, some of which are quite a bit off the beaten path.

From La Fortuna to Monteverde in a Rental Car
If you use Google Maps to calculate a route to Santa Elena, which is the main town in the Monteverde area, you might mistakenly think that it's just a quick drive. After all it’s not much more than 100km distance between La Fortuna and Monteverde. But be careful: When you go to Monteverde you enter an area with plenty of gravel roads and one wrong turn can get you stuck on a very bad 4×4 track. This is why the typical route goes along the northern shore of lake Arenal and then on to Tilaran before heading into the mountains of Monteverde. This route contains gravel after Tilaran, but I read that it's manageable.
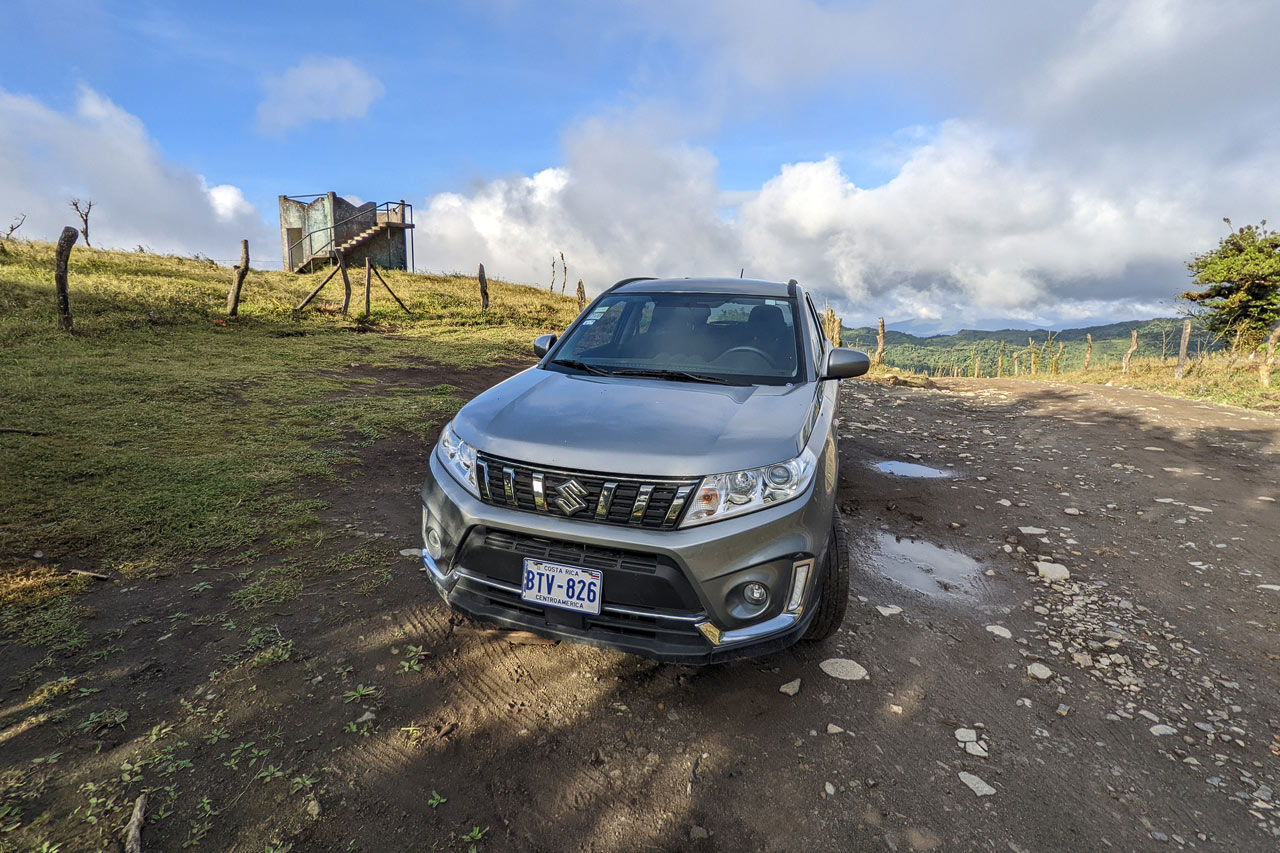
We had made sure to rent a 4×4 car for our trip through the Costa Rican highlands and the typical gravel roads were no problem. But there are different kinds of gravel roads and some of them you want to avoid unless you are an experienced off-roader. If you navigate using the popular Waze app and want to play it totally safe, you'll find an option that allows you to avoid all gravel roads. We learned the hard way though that this option is not very accurate.
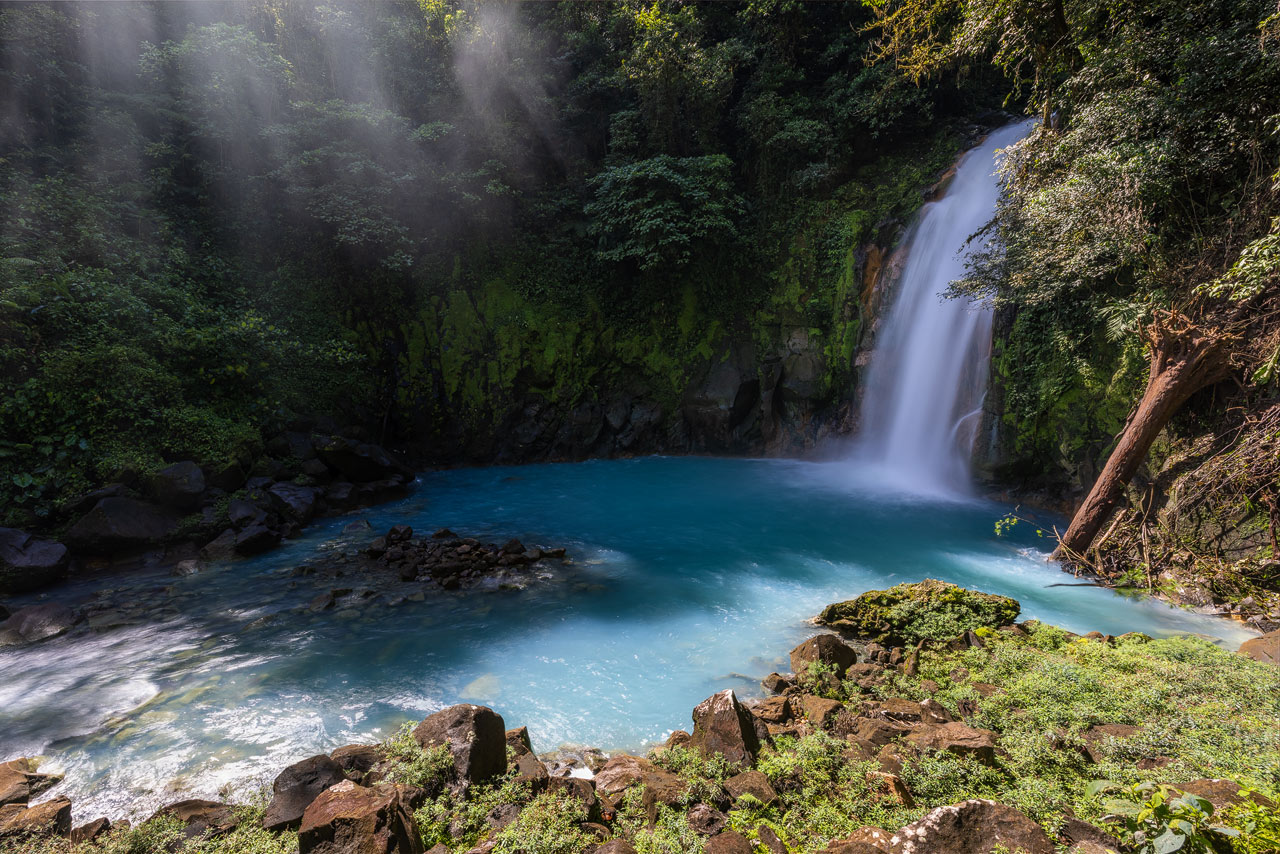
So, how did we get from La Fortuna to Monteverde? Since we already would have had to go around the northern shore of the lake, we decided to make a detour and visit Rio Celeste within the Tenorio national park along the way. For this we spent one night in a beautiful lodge in Bijagua. This was a great stop and I would definitely recommend it. The only thing you have to make sure when visiting Rio Celeste is that you arrive as early as possible to avoid the crowds. It opens at 8am and this is when you want to be at the entrance.

From Bijagua we let Waze calculate a route without gravel for us, because our car had started to make concerning noises every time we went over a bump. Since I couldn't locate a problem upon first inspection our plan was to find a mechanic, called taller mecanico in Costa Rica, in Santa Elena to get the car checked.
At first the drive was along paved roads down into the direction of San Jose. The plan was to later head up Road 606 to avoid any gravel. But Waze suddenly had other plans and recalculated the route to sent us up into the mountains using Road 926, which was very scenic and still paved. At some point we ended up on a cross-road and Waze had us turn right.

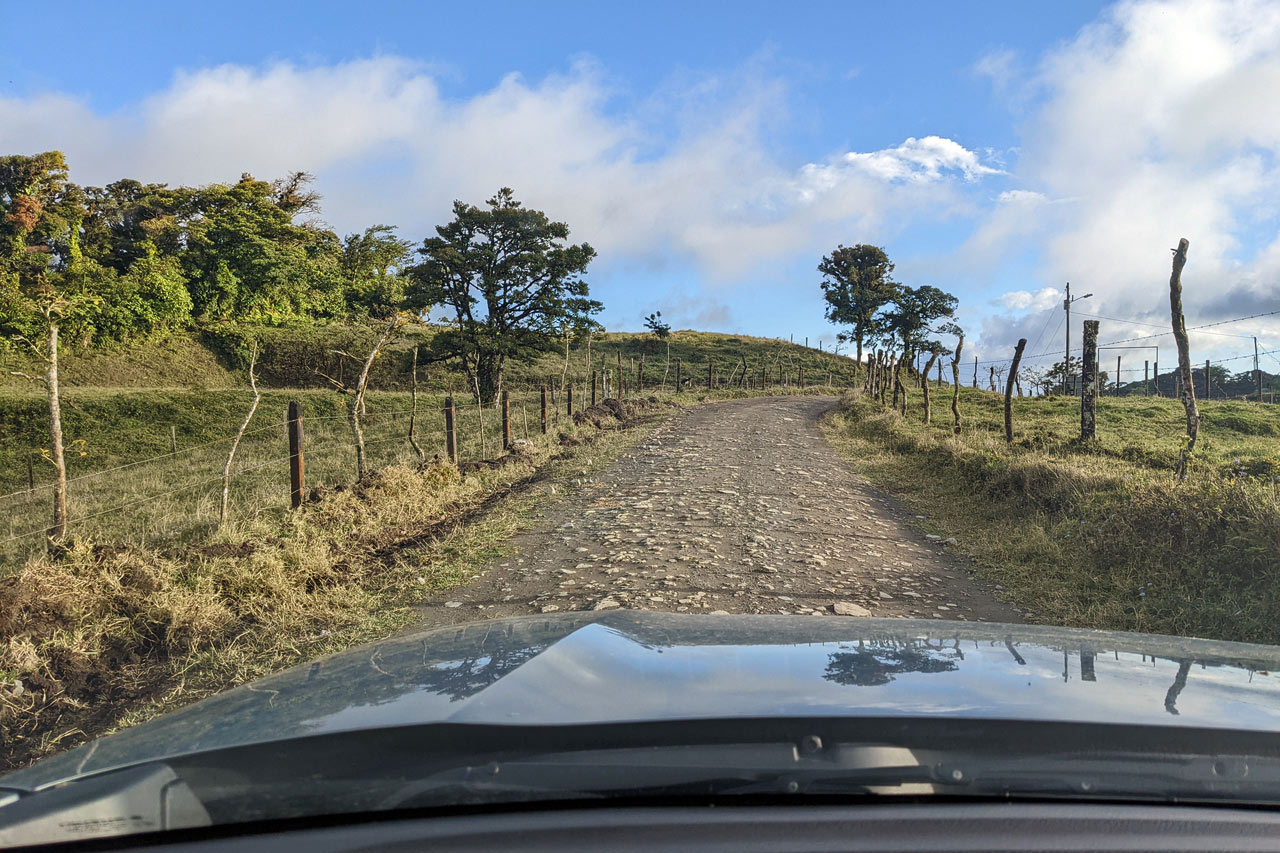
For reference: This is what I would consider a good gravel road in Costa Rica – typically no problem.
This is when it got stressful. First there was the typical gravel you often have in Costa Rica – nothing to worry about. I was sure Waze would quickly lead us back onto a paved road, after all we had activated the option to avoid gravel. The next turn and the road got a bit worse with much looser gravel and some steep inclines. Hadn't we had problems with the car earlier, I wouldn't have worried too much at this stage. But with the possibility that something was wrong with the suspension I went very slow already.
And you might already guess it: With every kilometer we went further up into the mountains the road condition worsened. In addition to that the road got very narrow and didn't allow us to turn around, so we had to continue. The bumps in the road got bigger and bigger, I had to constantly circumnavigate sharp, nasty looking rocks and at some point it was time to switch on the 4×4 mode of our car.
The screeching noise our car was making while going through some deeper bumps didn't help to calm my nerves either. I was so relieved when we finally connected back to the paved Road 145 after 20 or so kilometers of painfully slow driving. 30 minutes later we finally arrived at our Airbnb in Santa Elena.
Based on this experience I have a recommendations for you, if you plan to head to Monteverde in a rental car: Either do the drive via Tilaran or along Road 606 as described in this article. In my opinion the area around Monteverde is not a place for experiments when it comes to the selection of the route to take. If you like some off-roading adventure though, feel free to explore. You'll certainly be rewarded with beautiful views along the way.
The Problem With Our Car
The next day I directly went to a mechanic to investigate the reason for the noises our car made. The suspension seemed fine. We only found that two of the tires had a bit less air than the other two, so we equaled out the pressure. Other than that, a quick test drive along a bumpy road didn't show any problems and the noise was also gone. I was reassured that our car wouldn't fall apart in the following days in Monteverde and we could finally start our exploration.
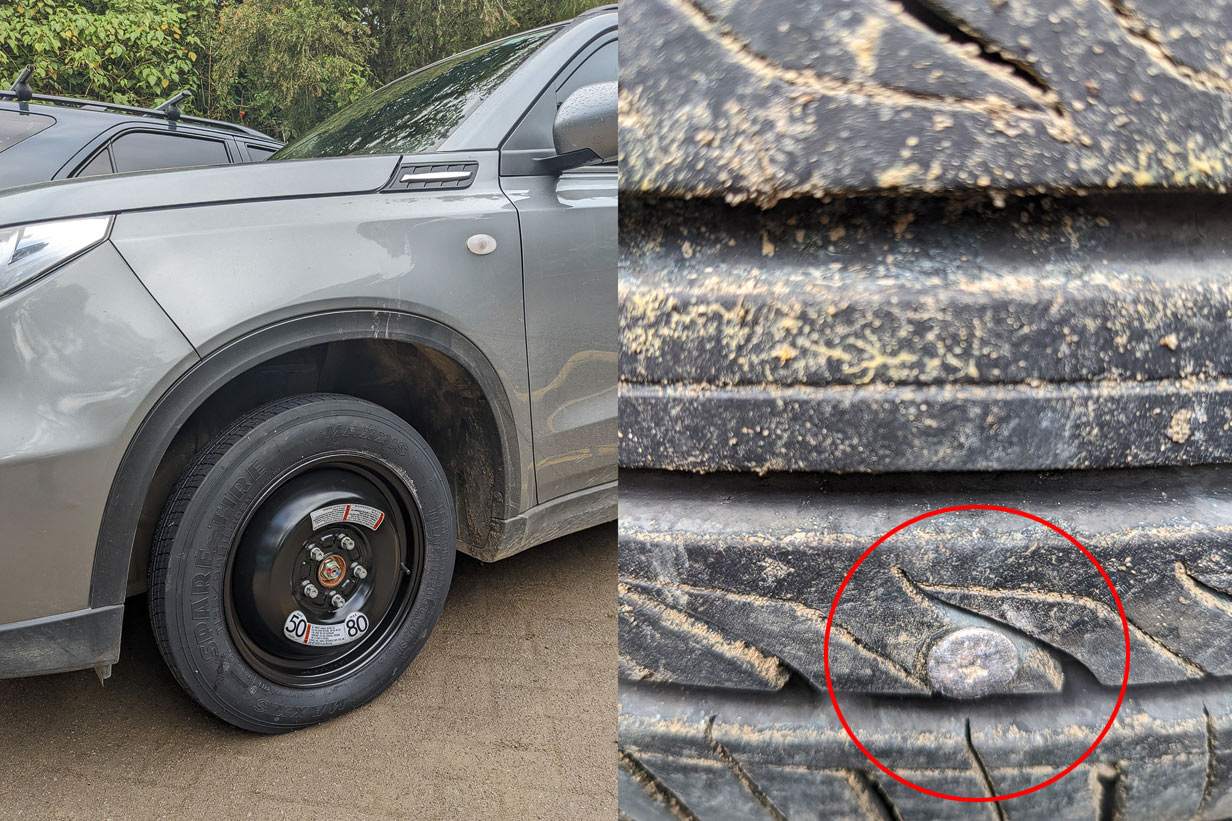
But the loss of pressure in two of our tires should have given me and the mechanic a pause and we should have performed a closer check. Because the next day, after a drive up to the Selvatura adventure park the front tire had again lost a good amount of pressure. So much so that I had to switch to the spare to get us down the mountain again. After removing the tire the culprit was quickly found. A nail had been nicely planted in the center of the tire. I have no idea where and how this could have happened.

I later learned that flat tires are quite common in this area and fixing them only takes around 5 minutes and costs no more than 2000 Colones, which is a bit over 3 USD. And a great place to get your tires checked and fixed is at Jonathan's, right next to where the gravel road up to Selvatura and the Santa Elena Reserve starts.
I had to make use of Jonathan's service a second time a couple of days later, because after some heavy rains I noticed bubbles building on one of the rear tires – the one that had had low pressure a few days earlier. Upon closer inspection at Jonathan's we found another deeply embedded nail in the tire. The way it was lodged in the rubber had nicely sealed it off, so we hadn't lost much pressure.
Once the nail had been removed it also dawned on me where those screeching noises of the previous days had come from. The nail was more than 5 centimeters long. My suspicion is that once the perssure in the tire had become low enough the nail started hitting the inner rim of the wheel every time we went through a bump and the tire got compressed.
A good lesson here would be that, if you are driving through Costa Rica in a rental car, to always check for places where you can get your tires fixed along your route and to inspect your tires before and after every drive. Funny enough most car wash places we saw in Costa Rica also have a tire fixing service. And there are plenty of car washes in Costa Rica.

