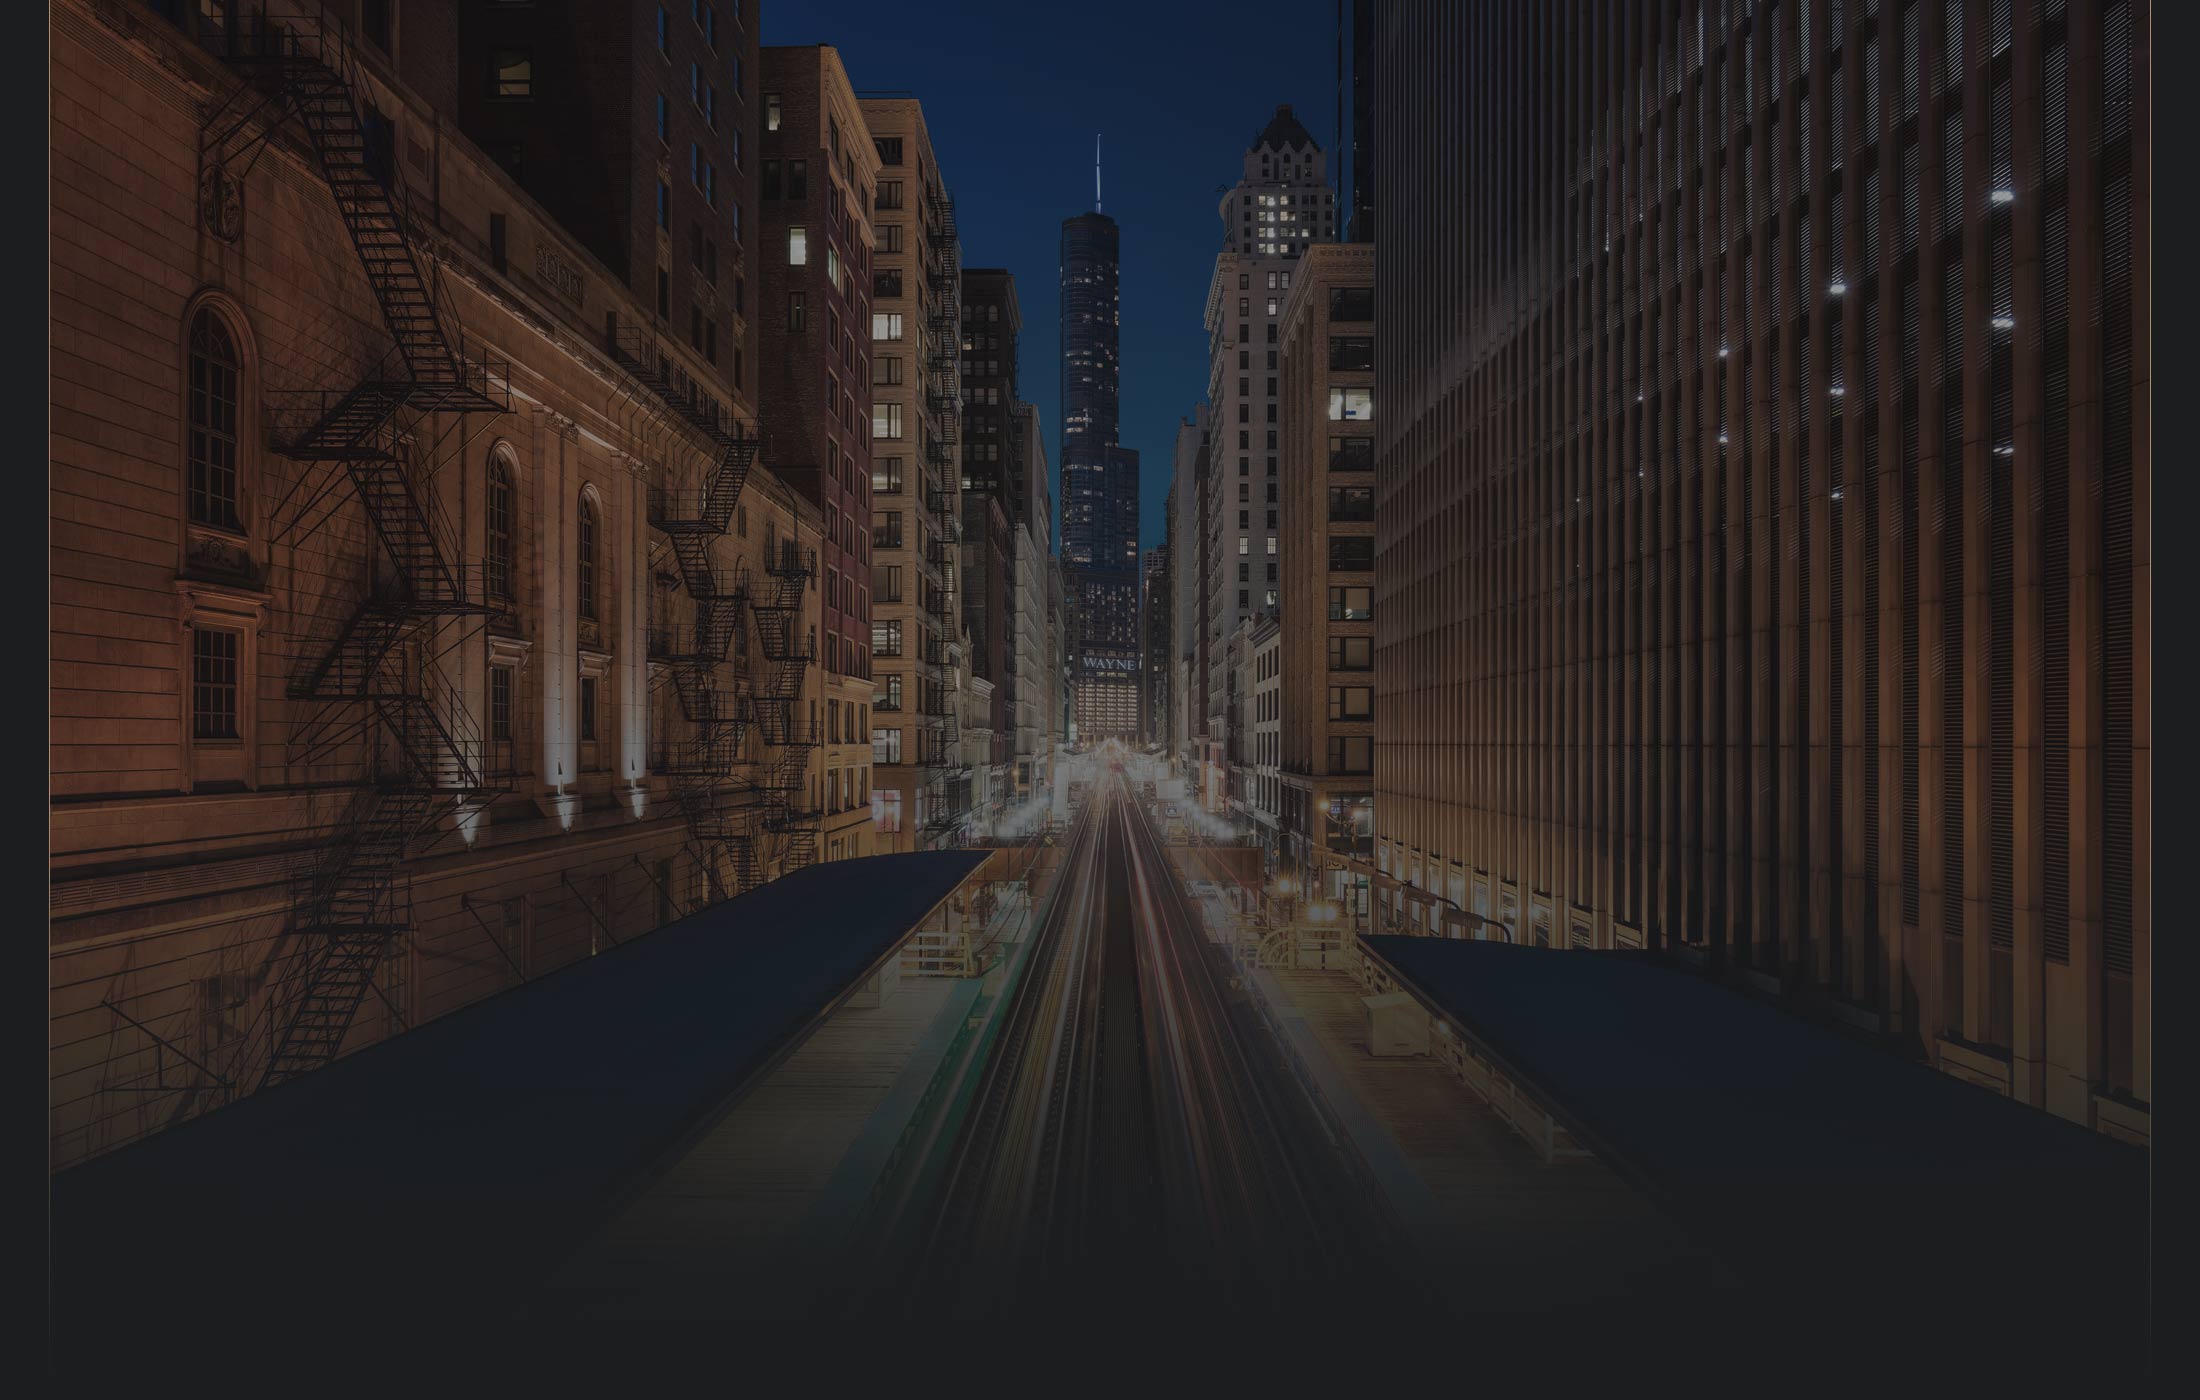
Blog - Best Camera Settings for Astrophotography
photography-tutorials | by Michael Breitung
Since I purchased the Canon R5* together with the Canon RF 15-35mm f/2.8 lens*, I became much more confident with night photography. And in this article, I share the perfect astrophotography settings.
With the right gear and the correct settings, capturing, for example, the Milky Way over a detailed landscape is no problem. With my previous camera, the Canon 5DSR, it could be a challenge to capture clean night photos. But with the Canon EOS R5, I can easily achieve high-quality results. And you can do so too with any modern camera as I show in the following sections where I explain:
- Why using an open aperture is important
- How the focal length influences the shutter speed
- Why high ISO is required in night photography
- How image averaging can combat noise from high ISO
- What star trackers are
- What the best camera settings for night photography are
- How to edit your night photos

Use an Open Aperture
To capture clean images of the night sky you have to get as much light onto the sensor of your camera as possible. And to achieve this it's important to use a lens that allows for apertures of f/2.8 or wider. The most commonly used lenses for Astrophotography often have apertures of f/1.8 or f/1.4. But even with the f/2.8 of the Canon RF 15-35mm lens, which I'm using, I can achieve high quality results. Before switching to that lens I was also able to capture a few night photos with a f/4 lens on my Canon 5DSR - but I can tell you, it was much more work to get the results I was after.

So, although the techniques I share below can also give you great results with a f/4 lens, I'd suggest that, if you want to get into Astrophotography, you get at least a f/2.8 lens. Also make sure that you purchase a lens that will give you sharp results even at its widest aperture. Prime lenses might often be your best choice, but there are also some zoom lenses that do a great job. Make sure to do some tests right after purchase to ensure your lens works properly, so you can return it otherwise.
The desire to practice more Astrophotography was one of the main reasons for me to make the investment and switch to the Canon RF 15-35mm f/2.8 lens*, which delivers great results for night photography when shooting wide open at 15mm.
Focal Length and Shutter Speed
Focal length has a huge influence on the maximum time you can expose a photo of the night sky without the stars showing as trails. You might have heard of the 500 rule, which is often used to calculate the maximum exposure time:
exposure time = 500 / Focal Length
What this rule basically tells you is: the longer the focal length, the shorter you must expose your photo, if you want to avoid trailing stars. But this rule is not absolute and certainly not right for everyone. If you take your photos primarily to be showcased on the web, then you'll be fine using it. But if you also like to print your photos large - 18 inch or more - then you might want to reconsider.
What this formula neglects are two things:
-
- How large you want to reproduce your photo and at which distance it will be viewed. It's quite obvious that as you print larger, trailing stars will become more noticeable. It's also very subjective how a viewer will perceive this. So the best thing is for you to test this and check, if, rather than going with the 500 rule, you might want to use a 250 rule or go even shorter with your exposures.
-
- In which direction you are taking your photo. For example, if you're facing straight north, you'll notice only minimal movement of the stars in the center of your frame. If you shoot with a wide angle lens you'll also notice that the stars to the edge of the frame show more trailing. Pointing your camera east or west on the other hand will lead to the longest trails in the center of the frame. What this means is that depending on the direction you are shooting, you might have to increase your shutter speed to achieve pin point stars.
There's actually another rule that takes this into account, the so called NPF rule. Here N stands for Aperture, P for the pixel density or pixel pitch of your camera sensor and F for focal length. In addition to those three values, variations of the NPF formula also include minimal declination (direction you're facing) and diffraction resulting from your chosen aperture.
This sounds complicated and if it wasn't for apps like PhotoPills it might become quite a hassle to calculate the correct exposure time. With PhotoPills though, you quickly get both the shutter speed calculated with the 500 rule and the NPF rule. You can even set the NPF calculator to accurate, which will ensure that even for larger prints the stars will appear as points.

In the screenshot you see a calculation I did for the Canon R5 with the RF 15-35mm f/2.8 lens at 15mm. I kept the minimum declination at 0 for the celestial equator and activated the accurate setting. With the resulting shutter speed I can now be sure to get pin point stars in any direction, because by setting the minimum declination to 0 I basically calculate the worst case with the longest trails. The trailing will be less intense when pointing the camera more into the direction of the celestial poles.
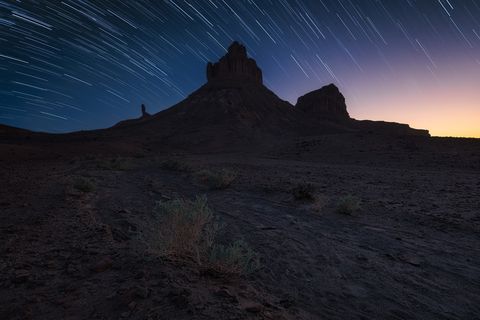
Star Trails
Sometimes though, trailing stars might be exactly what you want to capture. Then the 500 rule can be a great guide to calculate the minimum exposure time you should use for the individual exposures that will make up your Star Trail image. I have a free guide on Star Trail photography available on my Youtube channel. You might also want to approach focal length a bit different when photographing Star Trails. While going as wide as possible might be the right approach when photographing the Milky Way, now you might want to zoom in a bit to get longer Star Trails - unless you want to capture the stars circling around Polaris.
High ISO is Necessary
As you saw in the previous chapter, to get pin point stars you need to decrease your exposure times. This results in less light hitting the sensor of your camera, which means that you have to increase your ISO to compensate for it - since you should already be using the widest aperture your lens provides.
I usually try to stay beneath ISO 3200, if possible. Otherwise the noise in the photo will become too noticeable. And this is also the problem with the NPF rule. While it ensures pin point stars, it also mandates the use of higher ISOs than, for example, the 500 rule. The truth often lies somewhere between the two.
Here it is important to perform some tests with your camera. Find out what the best compromise between noise in the photo and some trailing in the stars is for you and use this knowledge to apply an additional factor to the exposure time calculated with the NPF rule. A factor of two, for example, would lead to more trailing stars but also allow you to shoot with half the ISO.
Use Image Averaging
Above you learned that ISO can become quite a limiting factor for your Astrophotography. But it doesn't have to be. I, for example, usually strictly apply the NPF rule. And I don't have to worry about the increased ISO I have to use when doing so.
With a technique called Image Averaging I'm able to get clean photos even when I shoot with or above ISO 3200. You want an example? Just check the 100% crop of the photo I took of the Gorges du Verdon in France using ISO 3200 at 15mm, f/2.8 with an exposure time of 8 seconds.

Looks more like a photo taken with ISO 100 or ISO 200, right?
If you have clear skies like I did in this example, the only objects moving in the sky are the stars and the moon. This allows you to take multiple, consecutive exposures of the same scene with the same settings and use them to average out the noise in the sky. With free tools like Sequator you can align the photos around the stars, which ultimately blurs out the noise in the frame together with the foreground while the stars remain relatively sharp.
And don't worry about the blurred foreground. You can either use the same photos to average them without prior star alignment - this would create star trails while reducing noise in the foreground. Or you do what I like to do: keep your camera in place and take a nap for a few hours until end of nautical twilight and then take some long exposures to capture details in the foreground.
This is what I did for the photo below. After capturing 30 photos for the stars around 4am I took a 90 minute nap before taking the photos for the foreground 40 minutes before sunrise.

If you're wondering how to put all those photos together, I have a very detailed photo editing tutorial for night photos available, in which I show every step.
Star Trackers
For completion sake I also have to mention star trackers here. They have a similar effect on the image as Image Averaging. But instead of taking multiple short exposures to average them later, a star tracker allows you to take one long exposure at low ISO while maintaining pin point stars in the frame. Same as Image Averaging does, the foreground will also be blurred but the sky and the stars will look clean.
I will not go into the technicalities of how star trackers work, because I have never used one myself. Since I can already achieve very good results with Image Averaging I rather keep my equipment minimal. Although there are some portable star trackers out there, they will still add a few hundred grams to your equipment and they will also make you less flexible during your Astrophotography shoot, because you need to set them up properly before starting your exposure.
Best Camera Settings for Astrophotography with the Canon R5
To sum it all up, when I take photos of the night sky with the Canon R5 I use the following settings and workflow:
- I always use 15mm on the Canon RF 15-35mm lens when I capture the exposures for the stars. This is the focal length at which the stars show the least Coma, even when shooting at f/2.8. It also gives me more field of view and allows me to capture more stars. Especially when photographing the Milky Way this is important. Such a wide photo usually blends quite easily with photos for the foreground taken within the range of 15mm to 20mm.
- I photograph the stars using f/2.8. Stopping down is not necessary with the lens I use and the only thing I have to make sure is focusing properly. Using the viewfinder of the Canon R5, focusing on some brighter stars is usually no problem.
- I abide by the NPF rule and photograph the stars with an exposure time of 8 seconds, if I have completely clear skies. If there are clouds moving across the sky and I cannot apply image averaging. I have to compromise and try to bring down the ISO a bit by introducing a factor to the NPF rule.
- The continuous shooting mode of the Canon R5 combined with a cable release comes in quite handy for the large sequence of night photos I have to take for later image averaging. I usually take at least 30 photos for the averaging.
- I set the focus manually using the viewfinder of the Canon R5. This way I avoid automatic refocusing while taking the sequence of photos for the stars.
- After taking the photos for the stars I take one final frame with the lens cap on. This dark frame can later be used in Sequator to remove hot pixels.
- After quickly checking the photos I usually have to wait one to two hours (or even longer) until it's bright enough to capture the foreground with some long exposures. It might also be the other way around though: I might already have taken the photos for the foreground after sunset and then would wait for the stars to appear. For the foreground photos I usually also use smaller apertures in the range of f/5.6 and f/9.5 and I will bring down the ISO depending on the amount of light.
With this workflow I'm able to take all the exposures I need to create high quality night photos with the right photo editing.
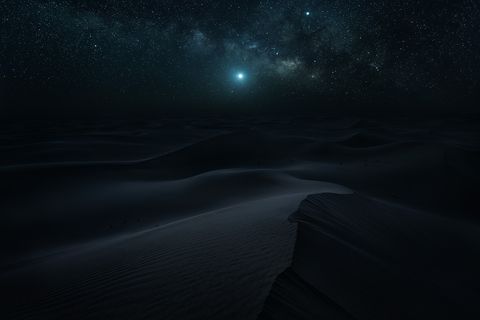
Photo Editing for Night Photos
As I already mentioned above, I have a detailed photo editing tutorial for night photos available. The techniques I show in this tutorial will enable you to create photos as the ones you see in this article. My goal with my editing is to create night photos that still look like night. I want them to represent the atmosphere I experienced while sitting there in the dark, looking up at the stars and enjoying the silence. To achieve this I developed a special Time Blending technique, which I show in all it's detail.
But I also want to leave you with an important photo editing tip here. If you use Lightroom, you now have the ability to use AI noise reduction on your RAW photos. And this feature is a game changer. When I take photos with the above settings, I now apply AI noise reduction with a strength of 50 to every night image. I do this prior to the image averaging.
This way, I no longer need 20 or 30 photos for the averaging. Now, I can get away with 5 or 10 photos, which drastically reduces the time I need to capture my night photos. I show this workflow in the video above.
Conclusion
Night photography could be technically challenging in the past. But with the advancements in camera gear and photo editing software, it has become much easier. So don't despair about clear skies on your photography trips. If you can't capture a colorful sunrise or sunset, embrace the situation and head out at night to practice some astrophotography.
* Above I use Amazon Affiliate Links. If you use them to buy something, I'll get a little commission from Amazon